• editorial
    • weddings
  • about
  • blog
  • contact
Menu

Brooke Courtney

  • portfolio
    • editorial
    • weddings
  • about
  • blog
  • contact
×

How To Address Your Christmas Cards!

Brooke Courtney December 16, 2016

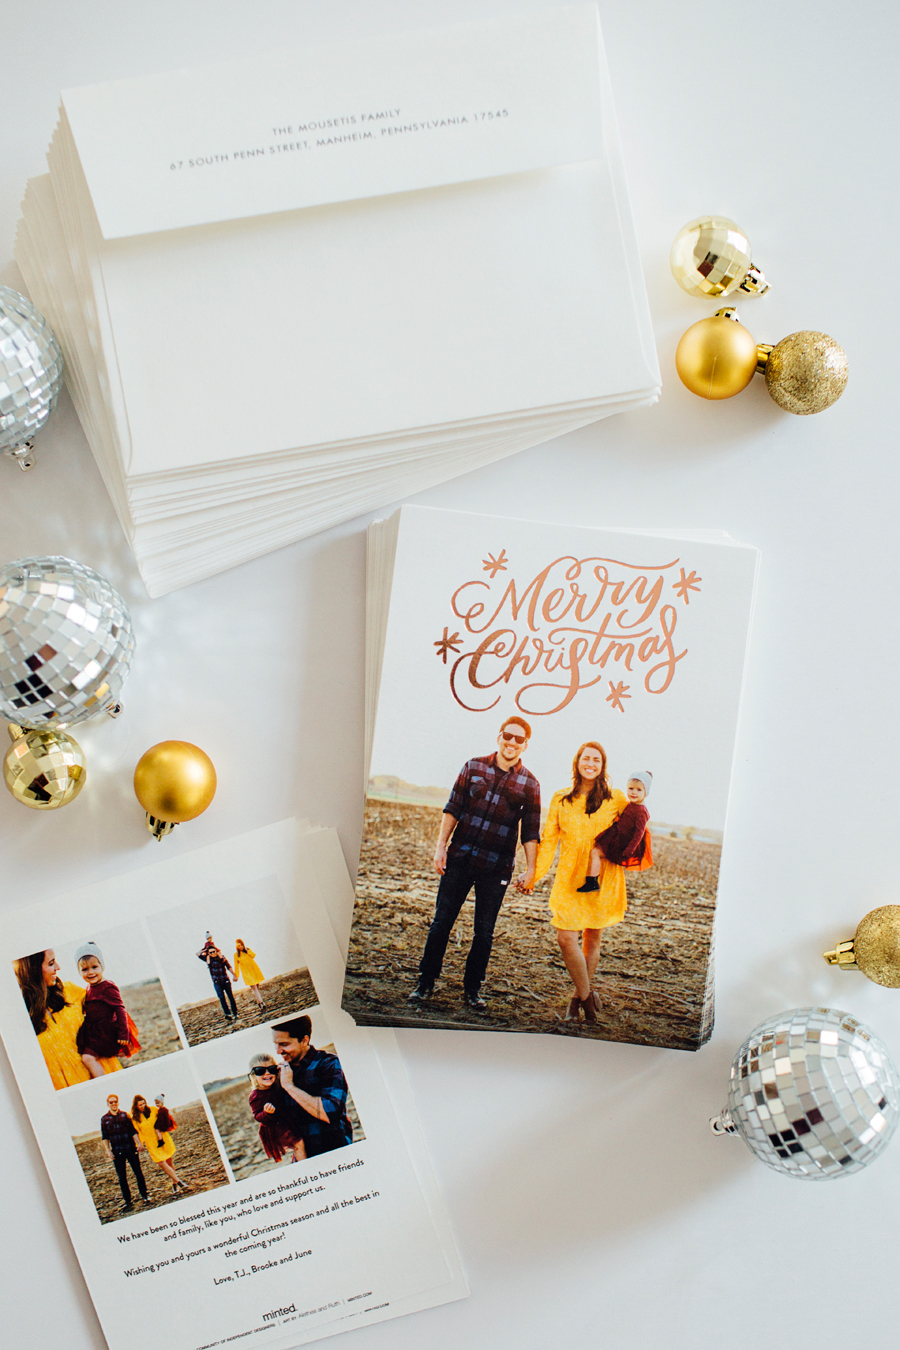
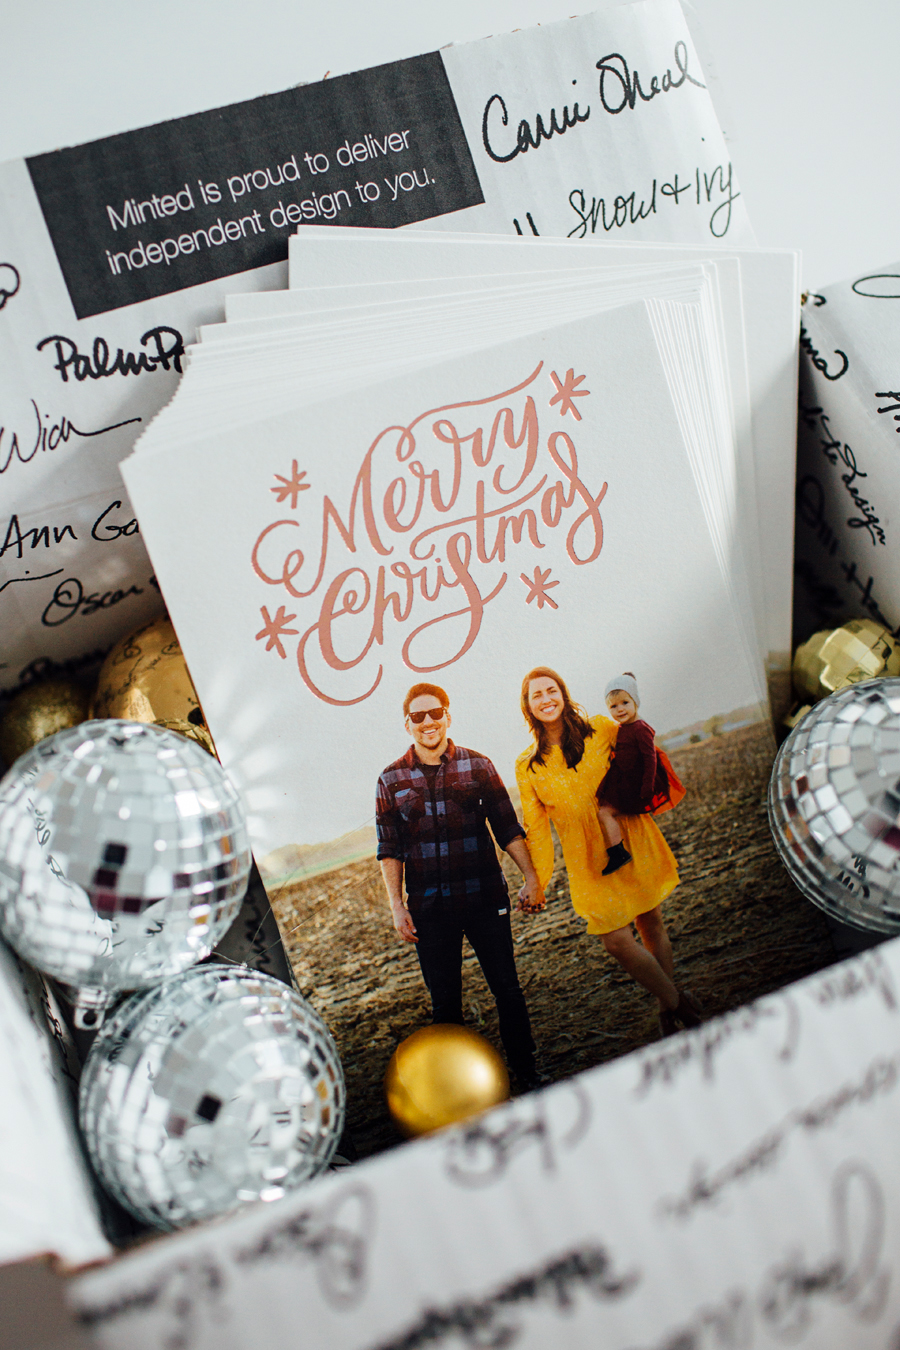
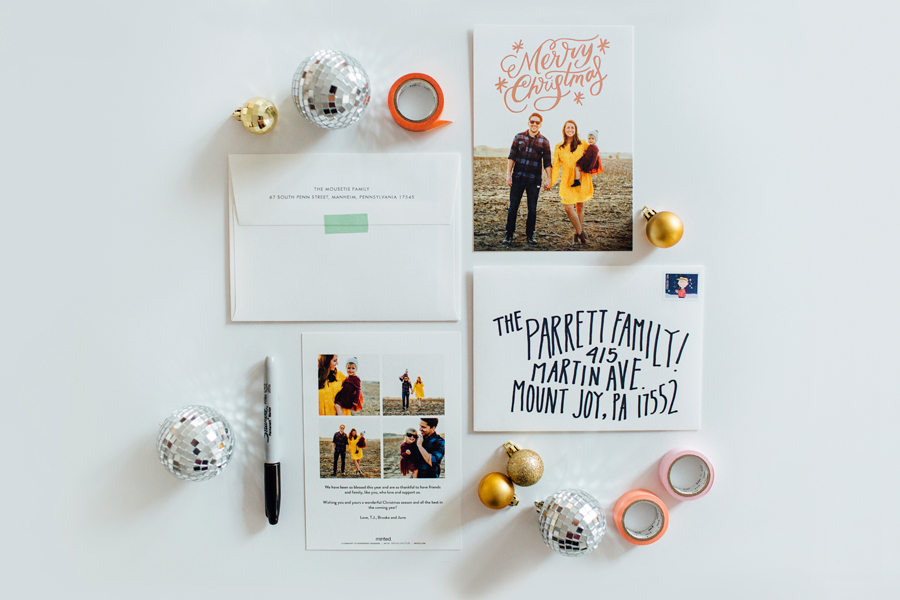
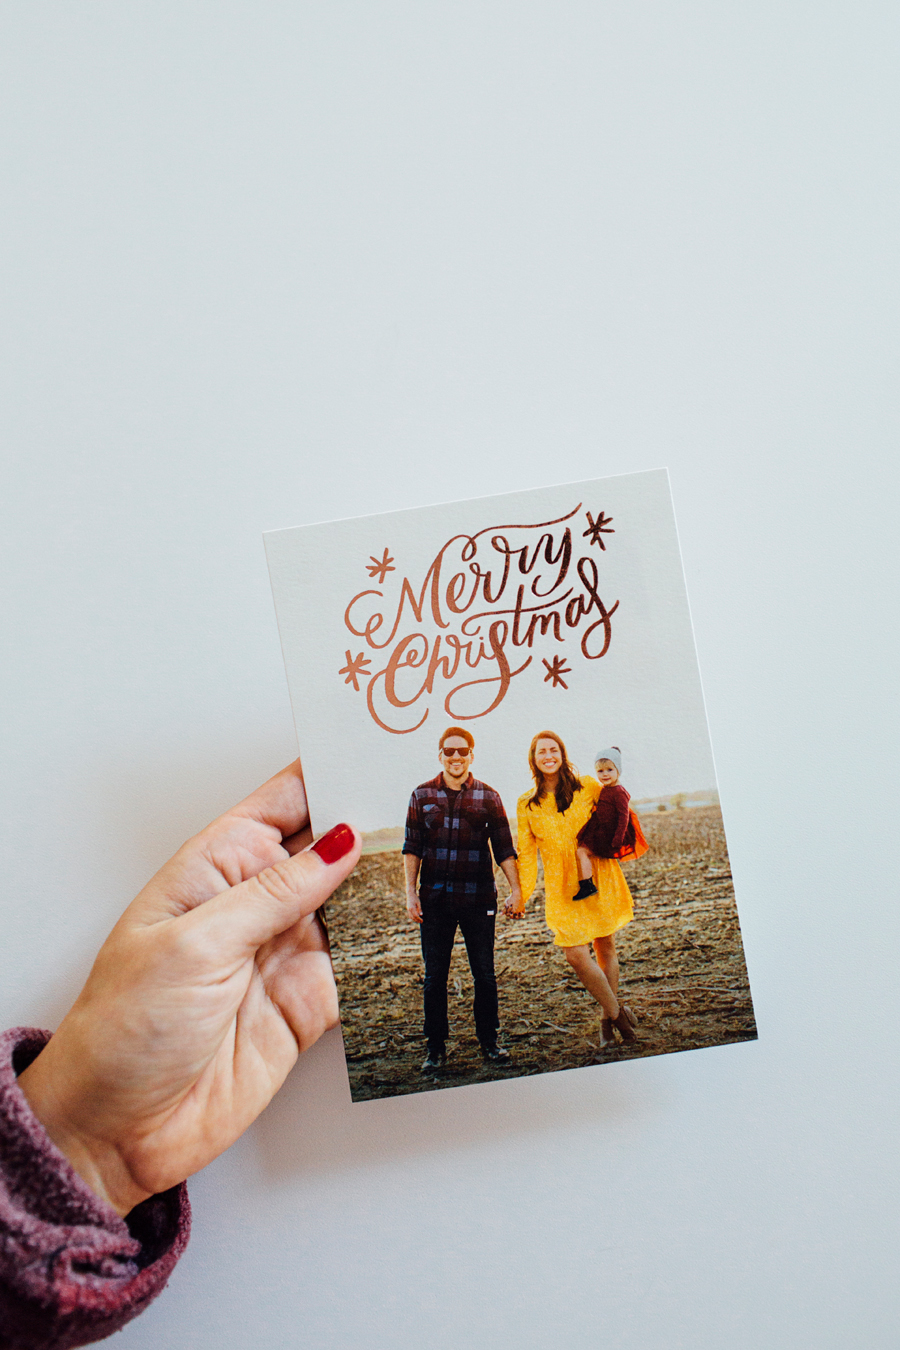
In my last post about our 2016 Christmas cards, I told you guys I'd give you a little tutorial on how to address your own - and here it is!

YOU'LL NEED:

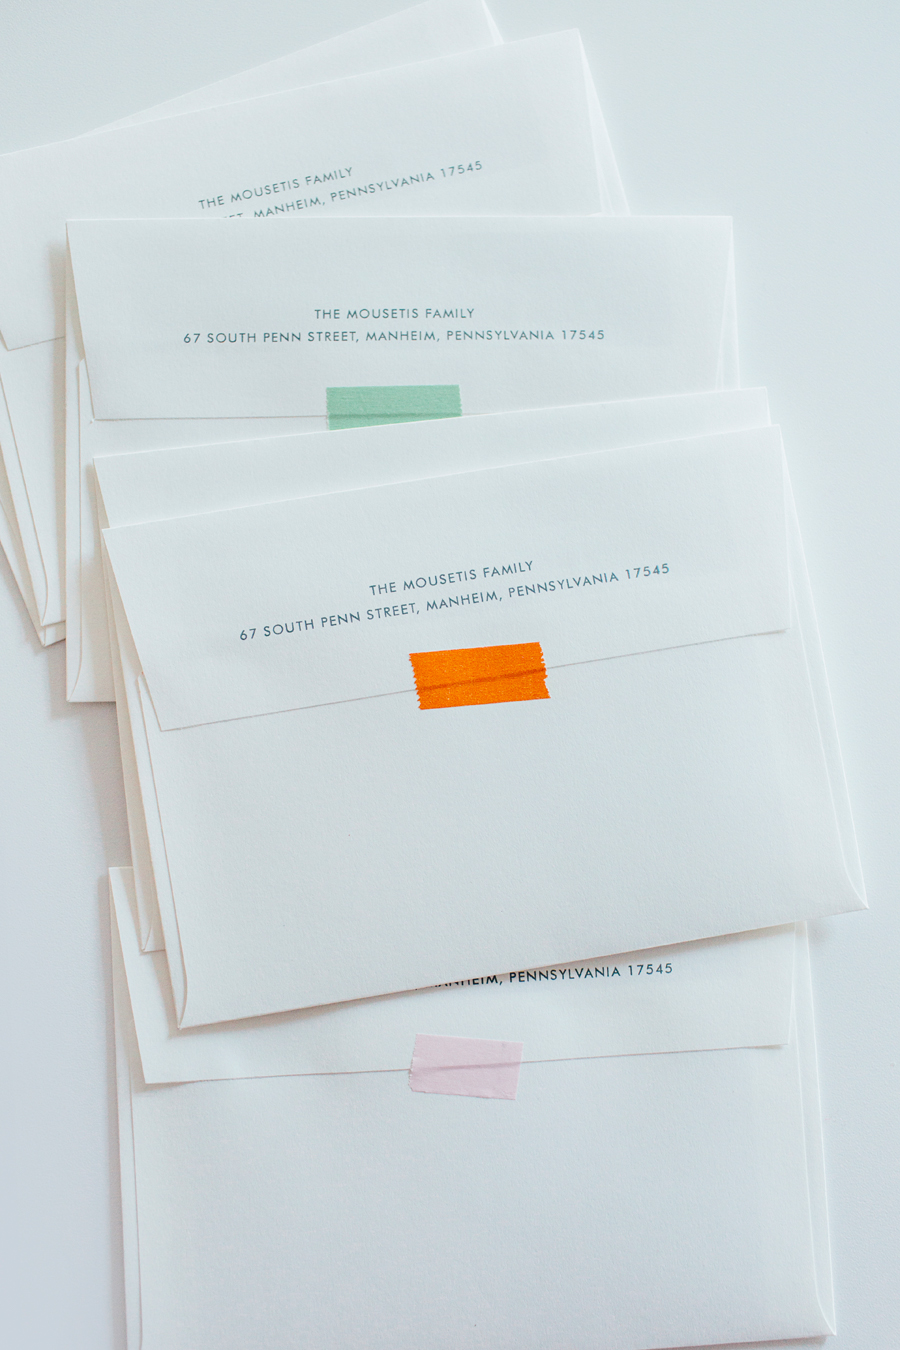
  • Envelopes (That fit your cards, obviously. 😂)
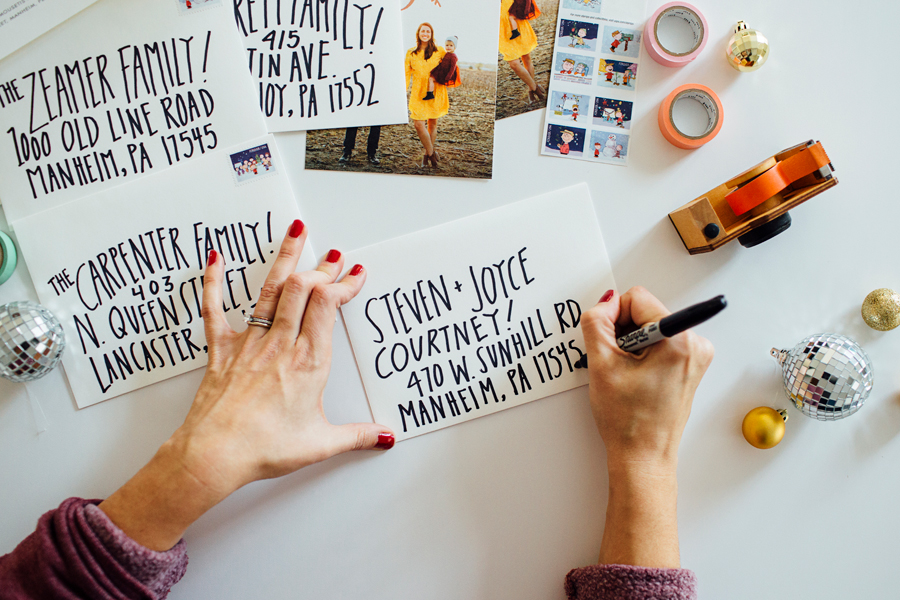
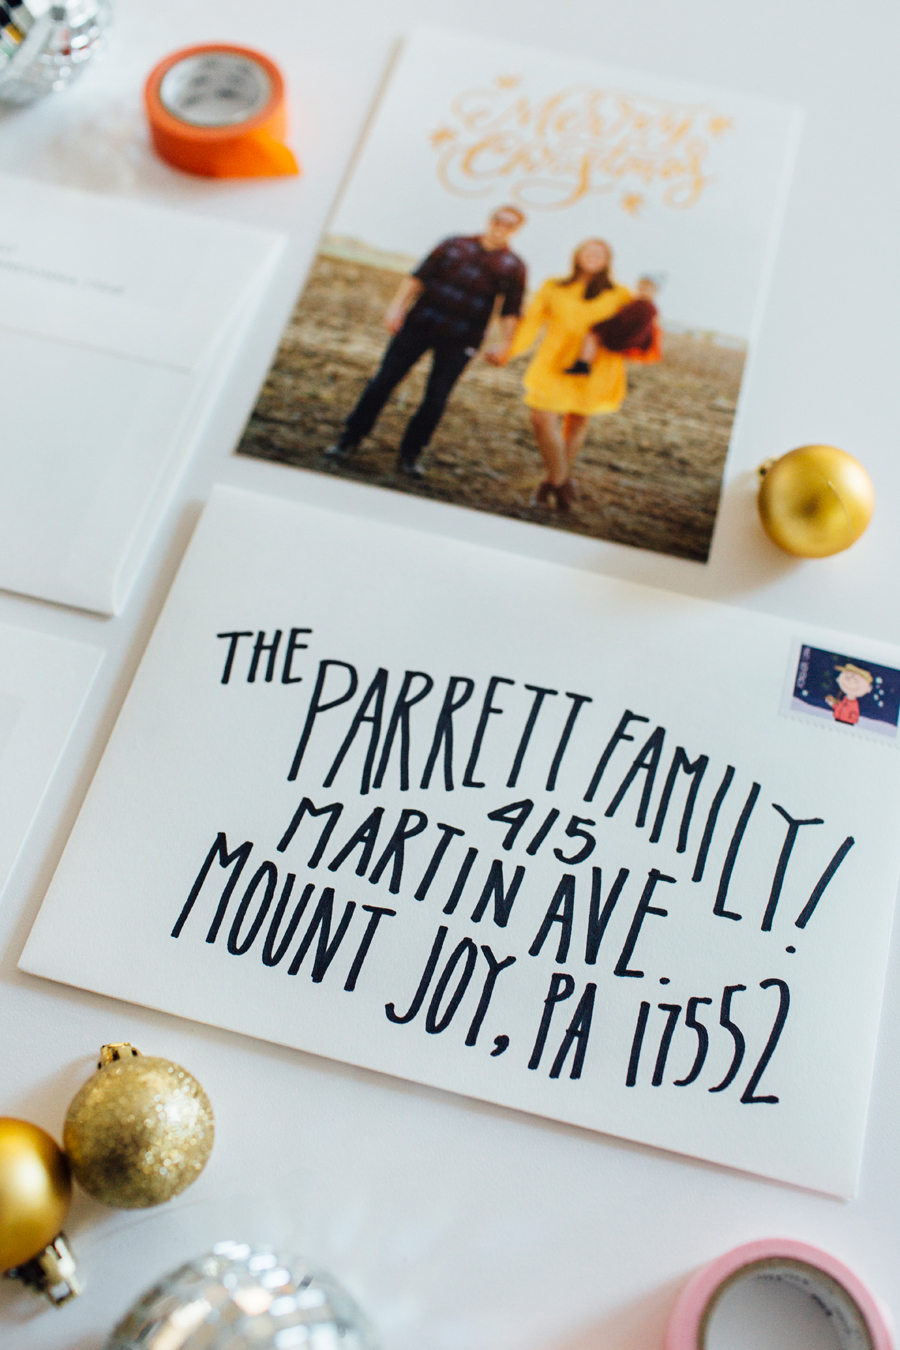
  • A Sharpie - regular or skinny. I used regular.
  • Scrap paper to practice on.

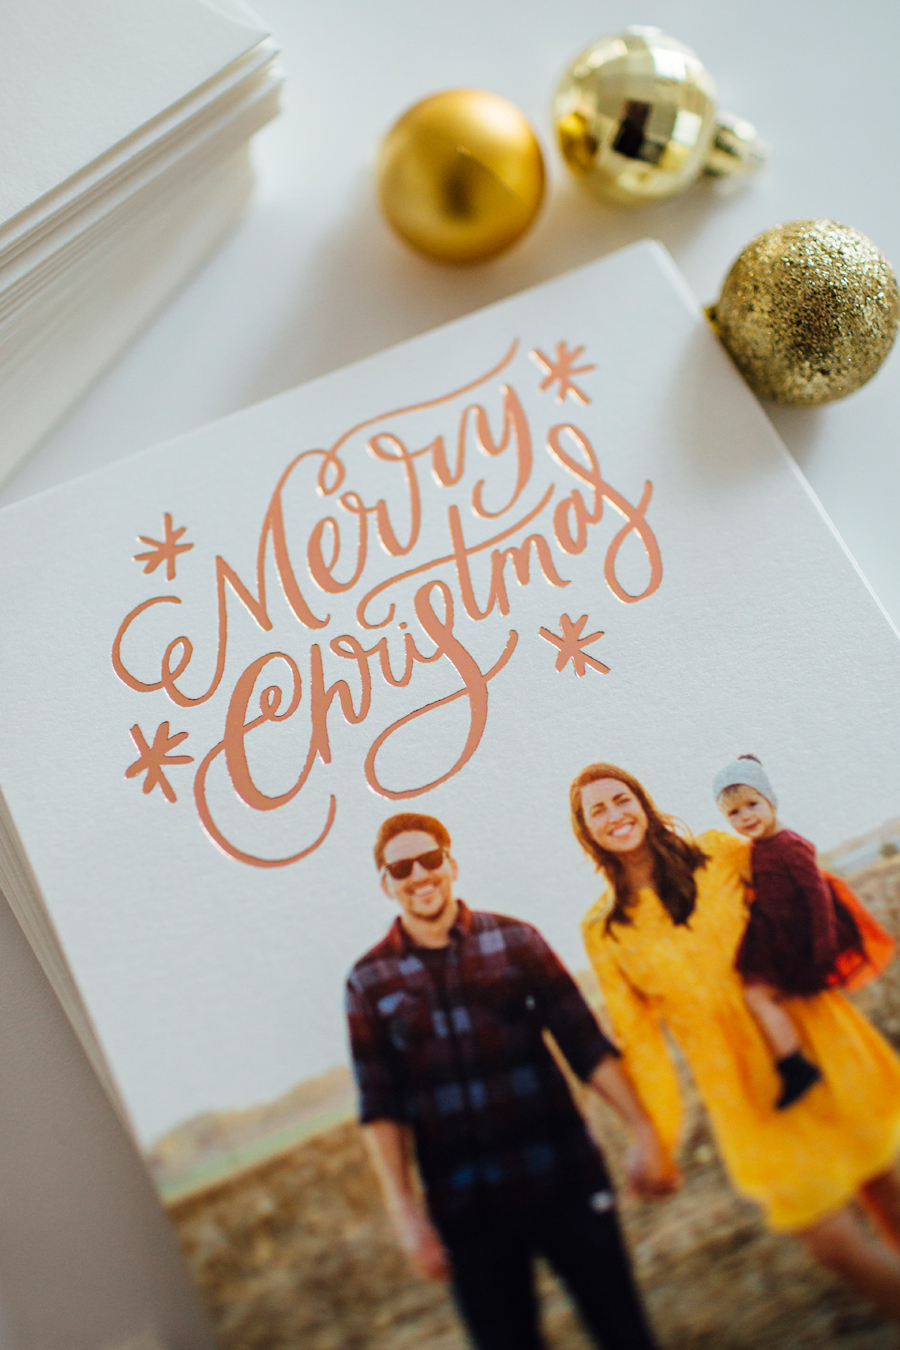
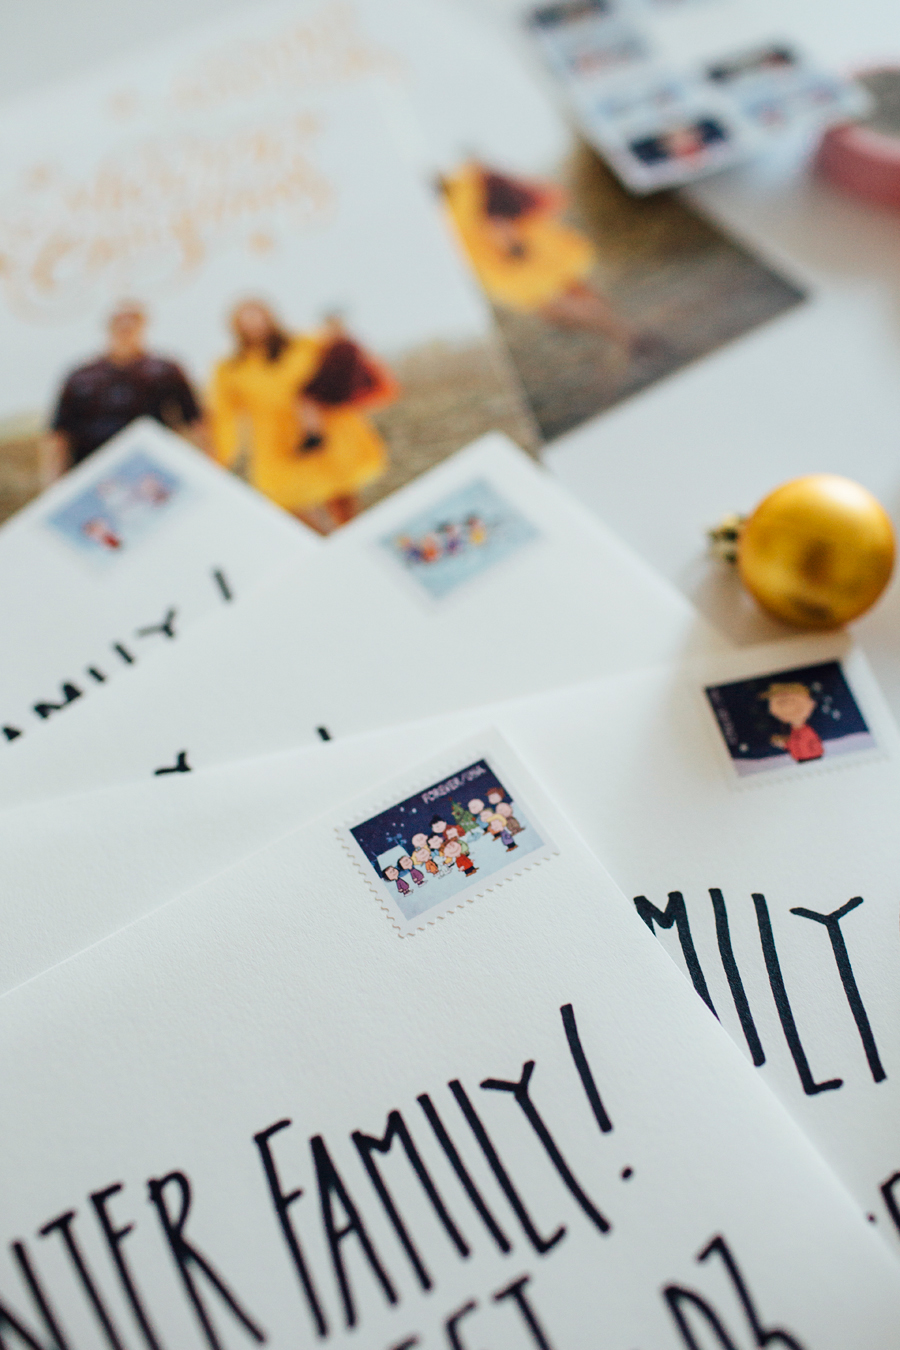
First, you'll want to practice this alphabet a few times. Keep your letters long and tall, while putting your extra lines (like crossing your A, E, F, H,) up high on your letter. Notice how close to the top of the H the connecting line is in my image above where I wrote "Christmas."

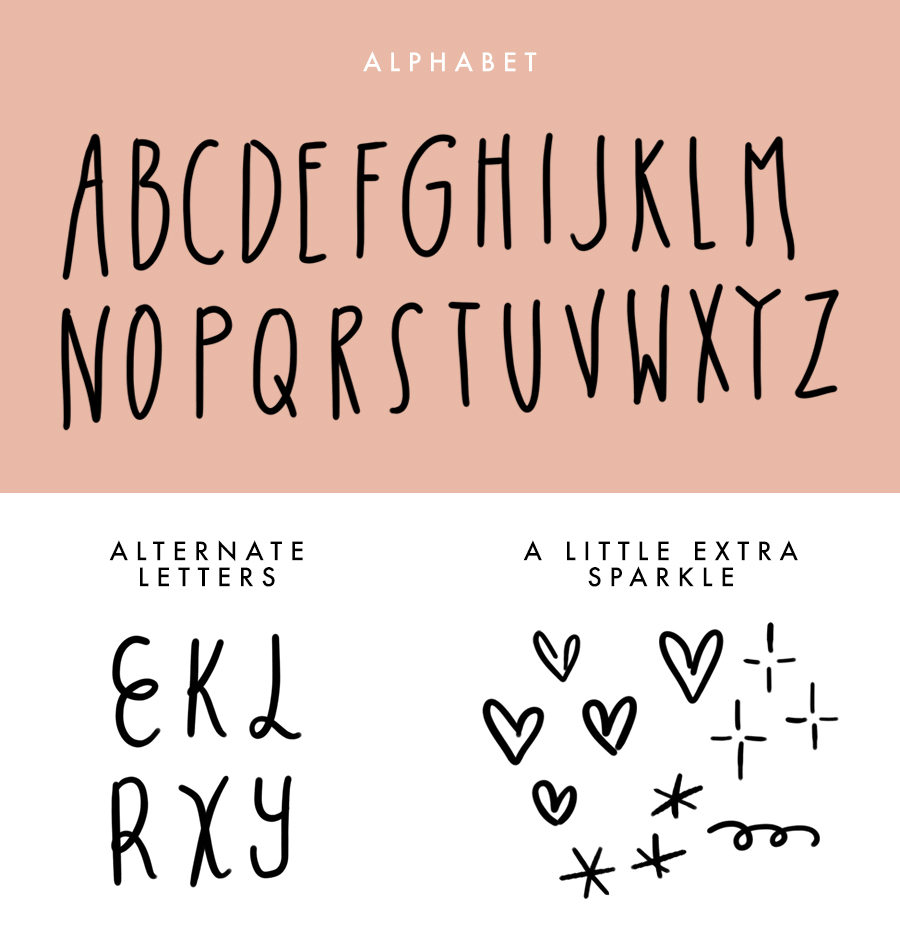
You can also practice your alphabet with some of these alternate letter options, or invent your own. Sometimes I'll mix both alphabets together just to make things look more fun! And don't forget to add a little extra sparkle to some of your favorite addresses!

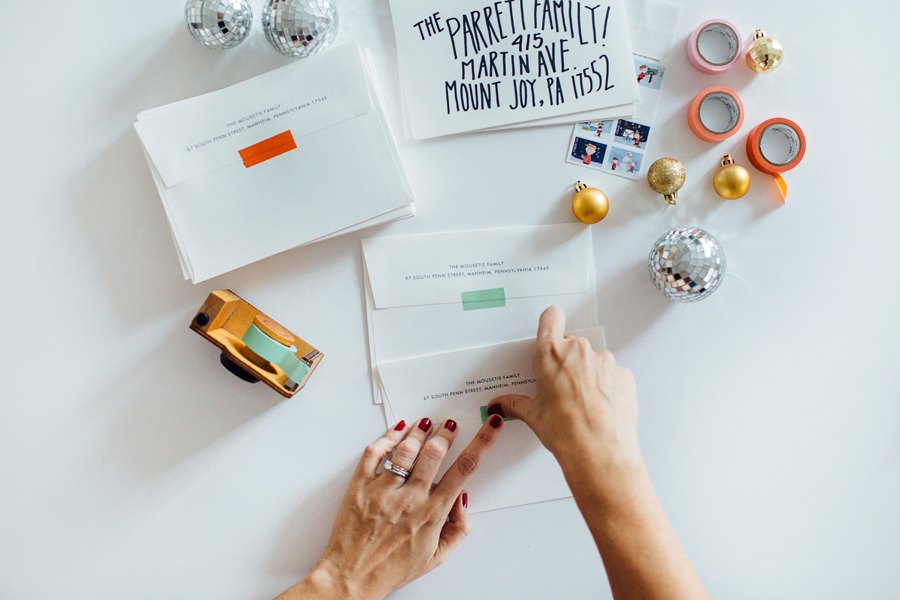
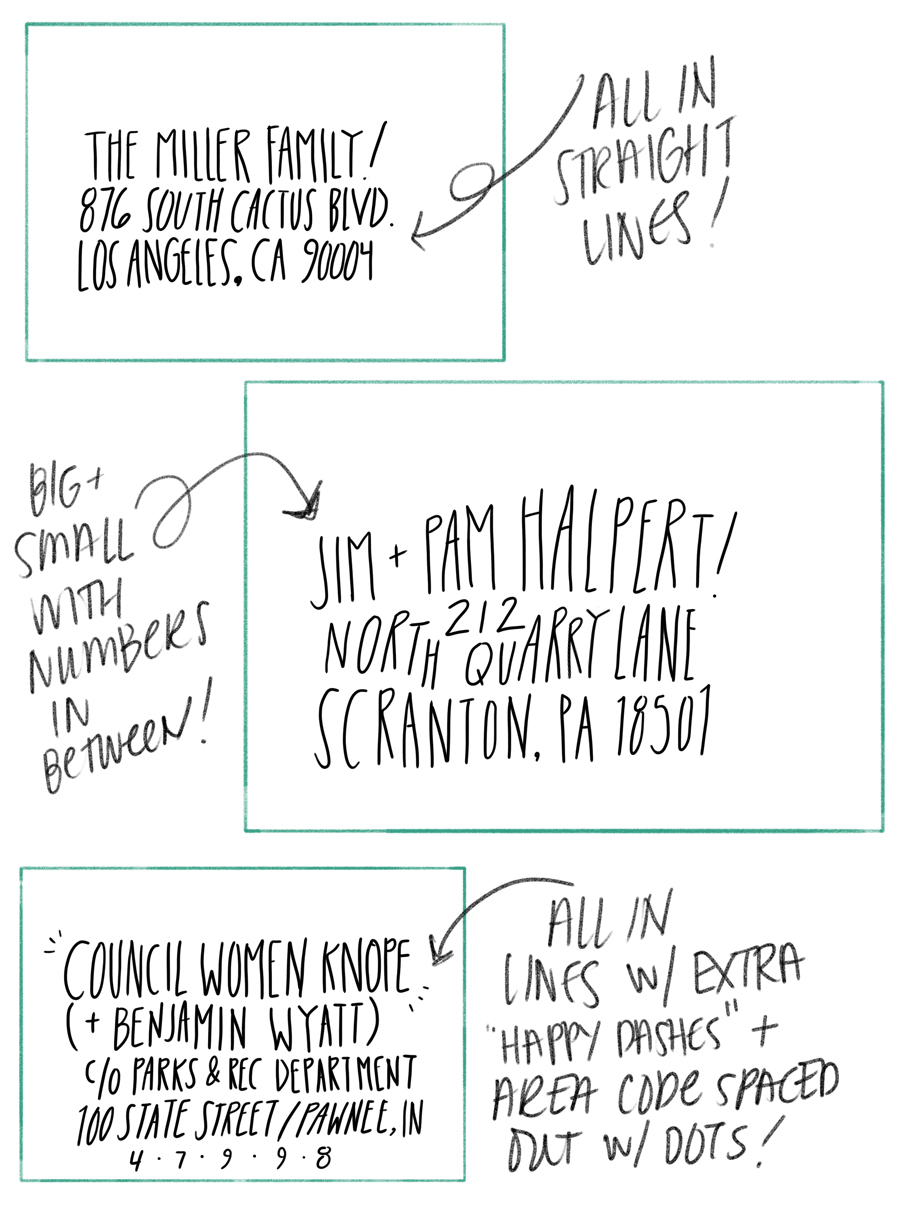
Before I start writing someone's name, I really study their full address to see which option (below) I should go with. Are their first and last names short or long? Are you going to add their kid's names? Do they have extra things like "apt #" or "cabin #" or things like that.

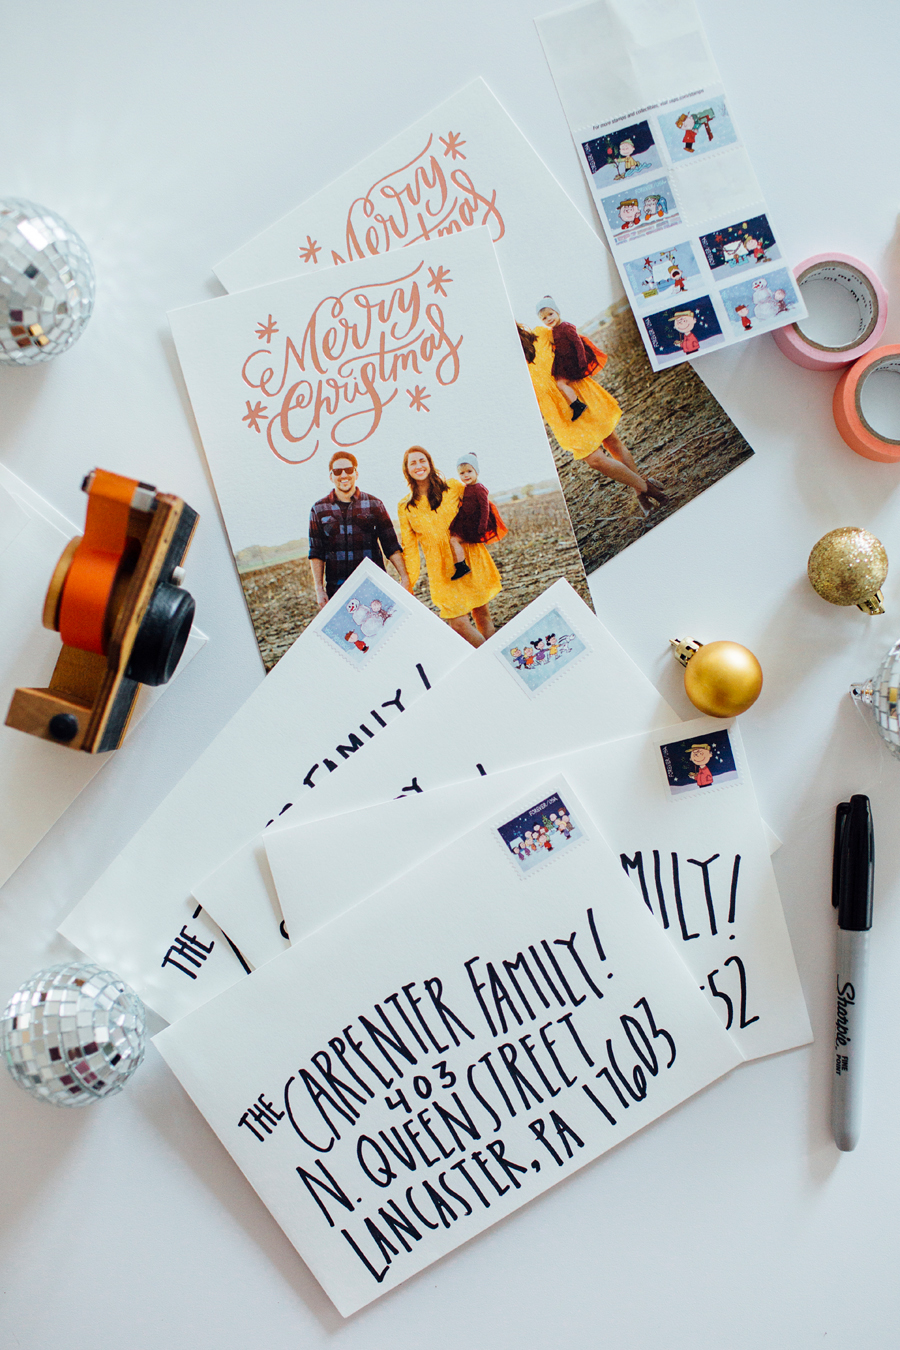
There are definitely more combinations than I included below, but these are the three I use most often!

So there you have it. Do your best not to over think it and enjoy it. Sometimes I'll totally mess up and write their first names so large I have to put their last name on another line. 😂 Or draw extra hearts in one area cause everything is so lopsided. But that's the beauty of it. Each one is different.

Be sure to tag me on Instagram @brookecourtney if you address your own and post a photo of it!

In DIY, HOLIDAYS Tags Christmas Cards, How To, DIY, Typography
Comment

A Merry Minted Christmas

Brooke Courtney December 13, 2016

You guys. I did it. I sent out Christmas cards this year. ( Fist pumps like Nick Miller. ) I'm pretttty sure the last time T.J. and I sent a Christmas card was in 2010, when we posed with all FOUR cats in our Smilebooth. 😹 Which, don't get me wrong, was totally amazing, but now that we've got sweet little Junie to take pictures with, pshhhh - our cats simply won't do.

I literally squealed at my desk when Minted ask to partner with us on our Christmas cards. I have ogled over their cards for years - all beautiful and letter-pressed and metallic, and did I say beautiful - and was thrilled to order ours through them this year.

The entire process was incredibly easy and user friendly. They even have this awesome "Find It Fast" feature that you can toggle on, where it'll insert the photo you uploaded into every design. This was a life. saver. Because, I had a whole folder full of "favorites", but when I saw my actual photo in the designs it was super easy to pick the perfect one! 

brookecourtney_christmascard_minted-1.jpg
brookecourtney_christmascard_minted-2.jpg
brookecourtney_christmascard_minted-4.jpg
brookecourtney_christmascard_minted-5.jpg
brookecourtney_christmascard_minted-6.jpg

Everything arrived - invites and return address printed envelopes - in a beautiful box, lined with the names of some of their designers. Being a small business owner who frequently hires other designers to do work for us, this made me smile.

I quickly pulled out our cards and got to work addressing them cause I was so excited! I could have had Minted address both the front and back for me, but I actually like addressing envelopes, so I opted out of that feature.

I've even made you a little guide to addressing your own envelopes, and I'm going to share that with you all tomorrow. (So, come back!) It's really fun to be able to do it yourself and then love the way they turn out. Give it a try this year! (And of course remember, grace not perfection.)

brookecourtney_christmascard_minted-18.jpg
brookecourtney_christmascard_minted-7.jpg
brookecourtney_christmascard_minted-8.jpg
brookecourtney_christmascard_minted-10.jpg
brookecourtney_christmascard_minted-11.jpg
brookecourtney_christmascard_minted-12.jpg

Once I had everything addressed, I used the cutest Charlie Brown Christmas stamps and a piece of colored washi tape to top it all off. 😍 Seriously, washi tape is easily one of the best things to hit the U.S. in the last 5 years. If you don't have some, get some. (Preferably the brand MT, cause they're the best.)

I chose one of my favorite family photos for the front of the card, and a few extras for the back, from a session my friend Liz did for us back in October. You can see all of those photos in the post just before this one -- right HERE. 

brookecourtney_christmascard_minted-13.jpg
brookecourtney_christmascard_minted-14.jpg
brookecourtney_christmascard_minted-15.jpg
brookecourtney_christmascard_minted-16.jpg
brookecourtney_christmascard_minted-17.jpg
brookecourtney_christmascard_minted-19.jpg

So there you have it. Our 2016 Christmas cards. I am so thrilled with how they turned out. And I can't wait for many of you to receive them in your mailbox this week!

Also, I totally believe in YOU to address your own like I did. Just practice each letter a few times on scrap paper and then take your time. Not only is it fun, but I try to take a little moment and think about who I'm addressing it to, how they impacted our 2016 year, and say a little prayer for them.

Merry Christmas ya'll!

This post was sponsored by Minted, but all opinions are my own. There's still time for you to get a baller Christmas card for yourself - shop Minted today! 

In HOLIDAYS, LIFE Tags Christmas, Christmas Cards, Sponsored, Partner, Minted
Comment

Search Posts


Featured Posts

Powered by Squarespace