• editorial
    • weddings
  • about
  • blog
  • contact
Menu

Brooke Courtney

  • portfolio
    • editorial
    • weddings
  • about
  • blog
  • contact
×

That Front Porch Life

Brooke Courtney September 23, 2016

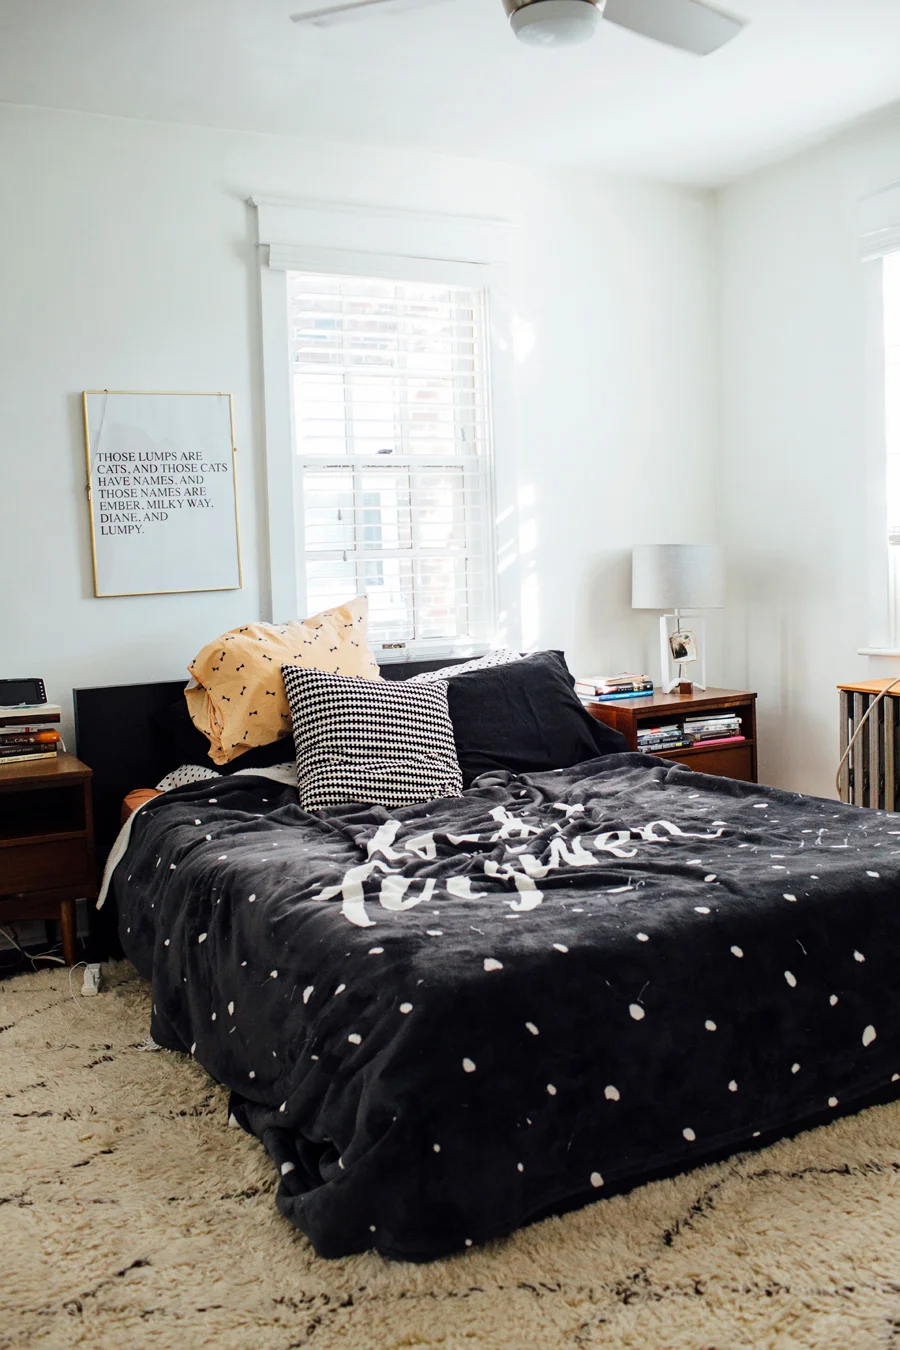
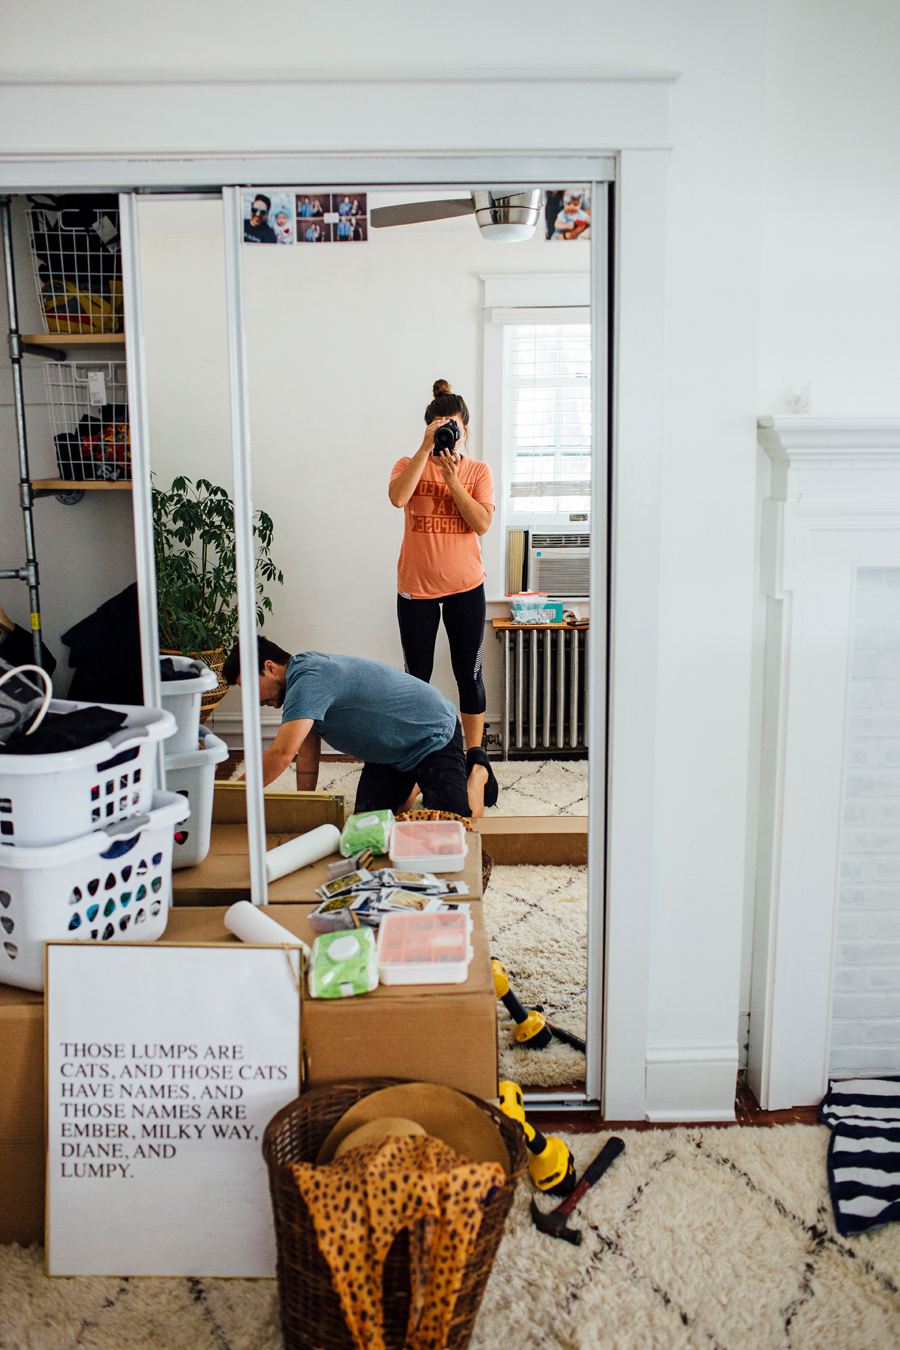
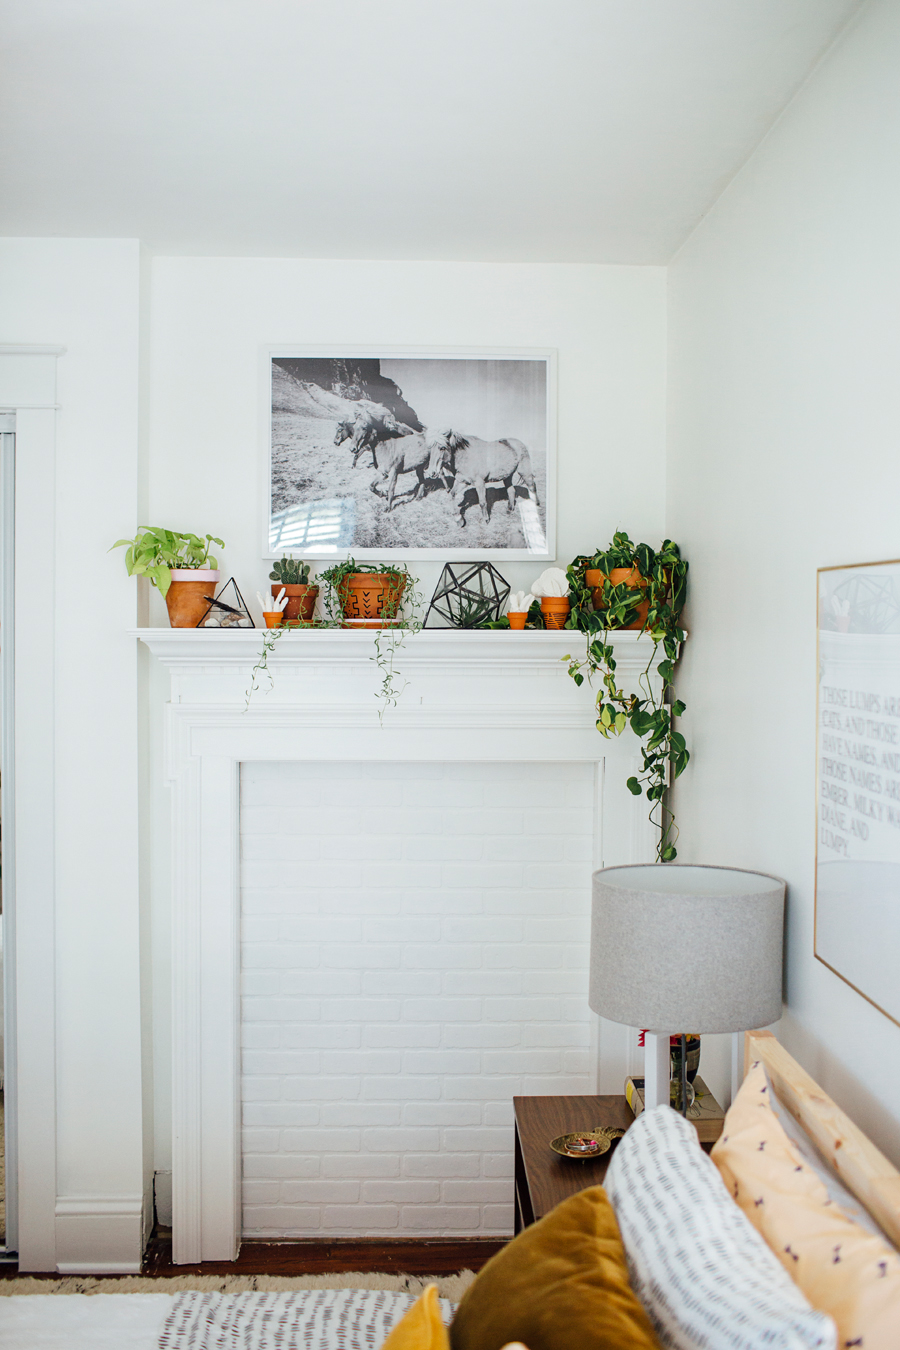
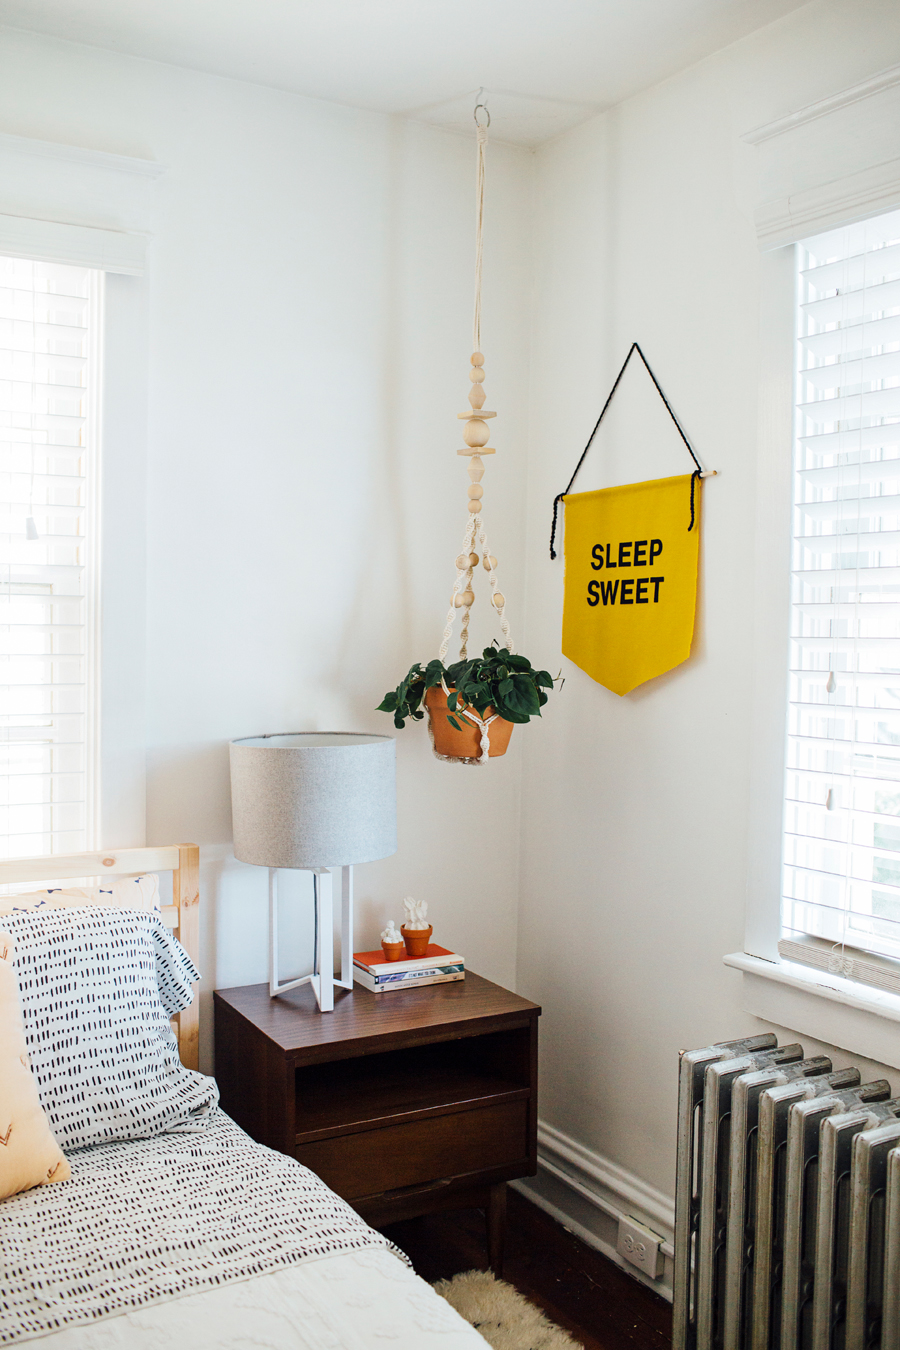
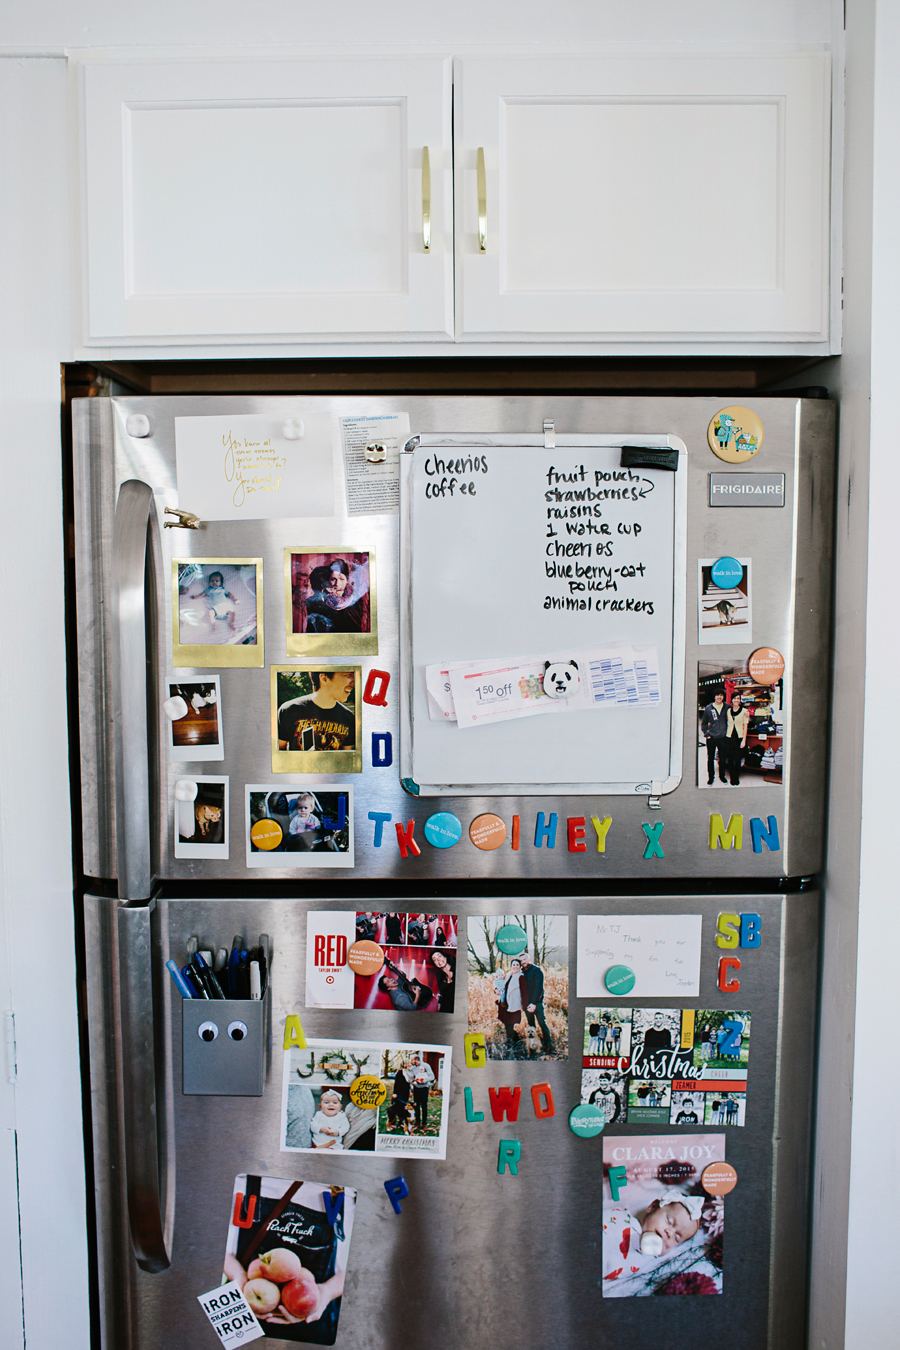
I have always wanted a front porch to live on - to sip iced coffees, and read books, and have long afternoon conversations on. A porch to hand out Halloween candy from, decorate for Christmas and dry pool towels on in the heat of summer. I mean, technically we've always had a front porch. When we moved in to our little 1929 house seven years ago, the front porch was sufficient, but missing a railing. It left you feeling very open and exposed if you sat out there in your morning pajamas, or jammie-jams as we call them in our house, which wasn't very enjoyable. Years went by and we basically never used our front porch.

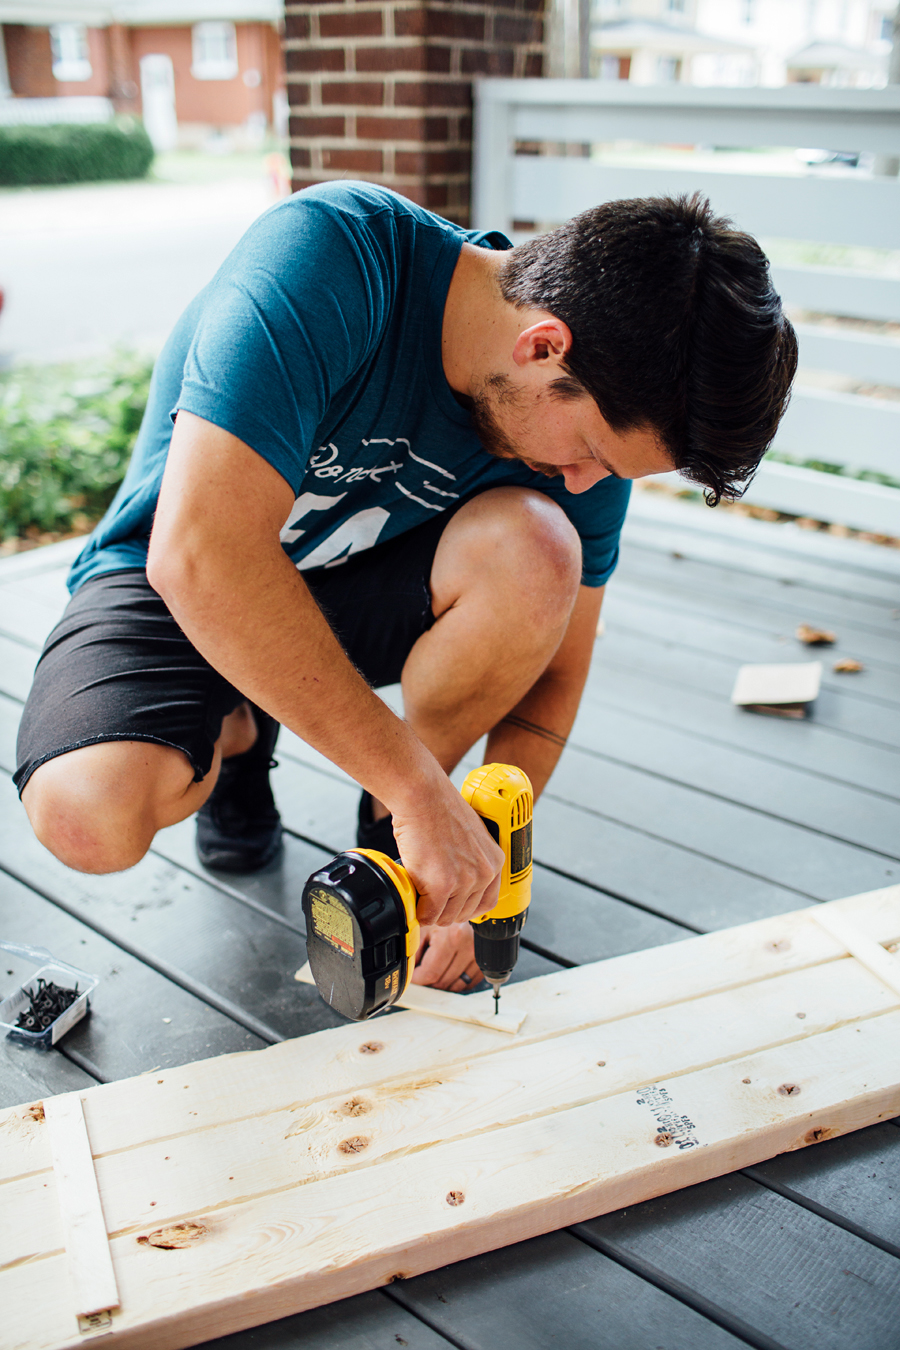
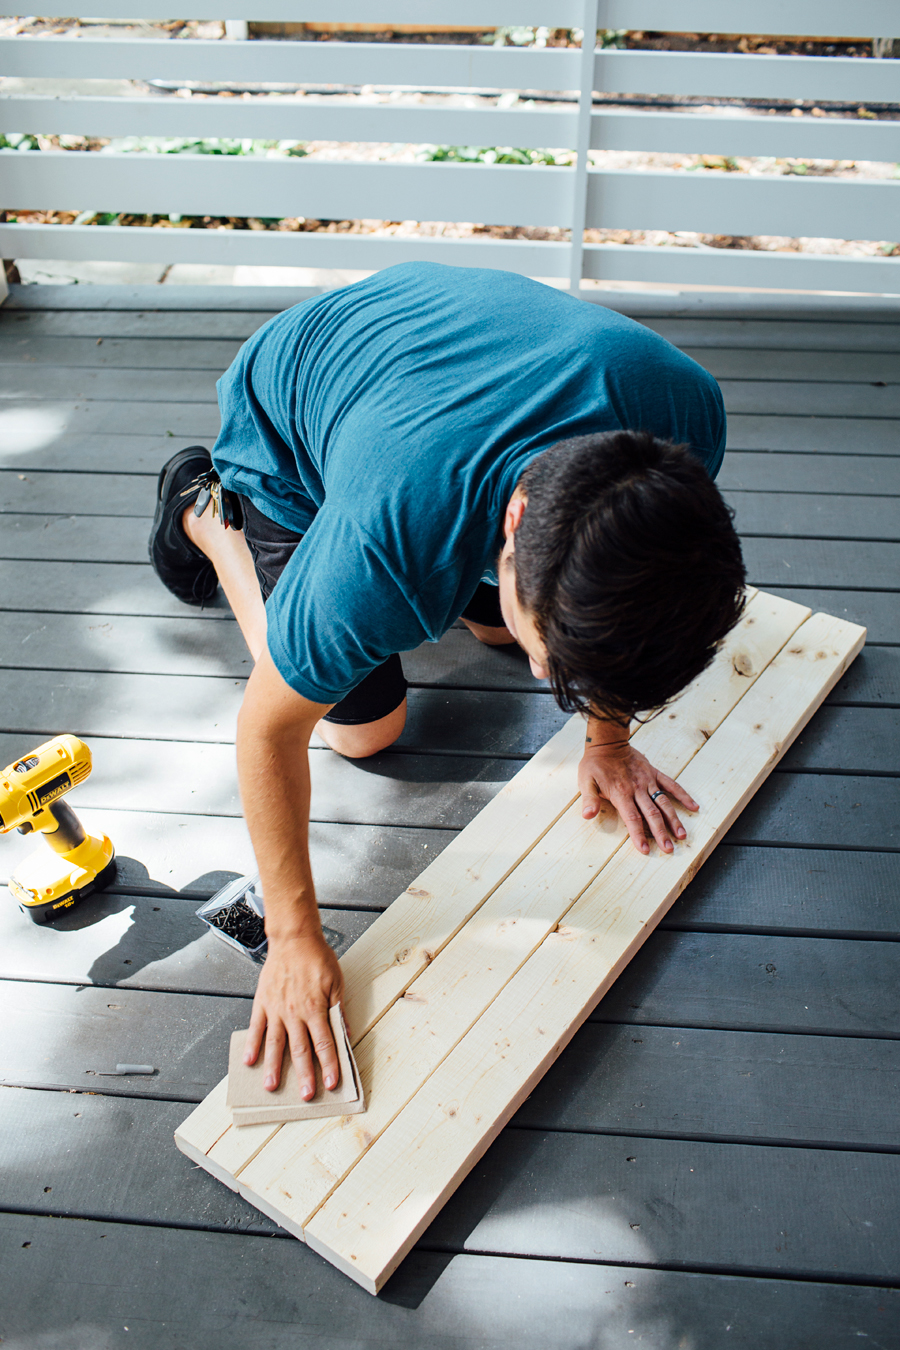
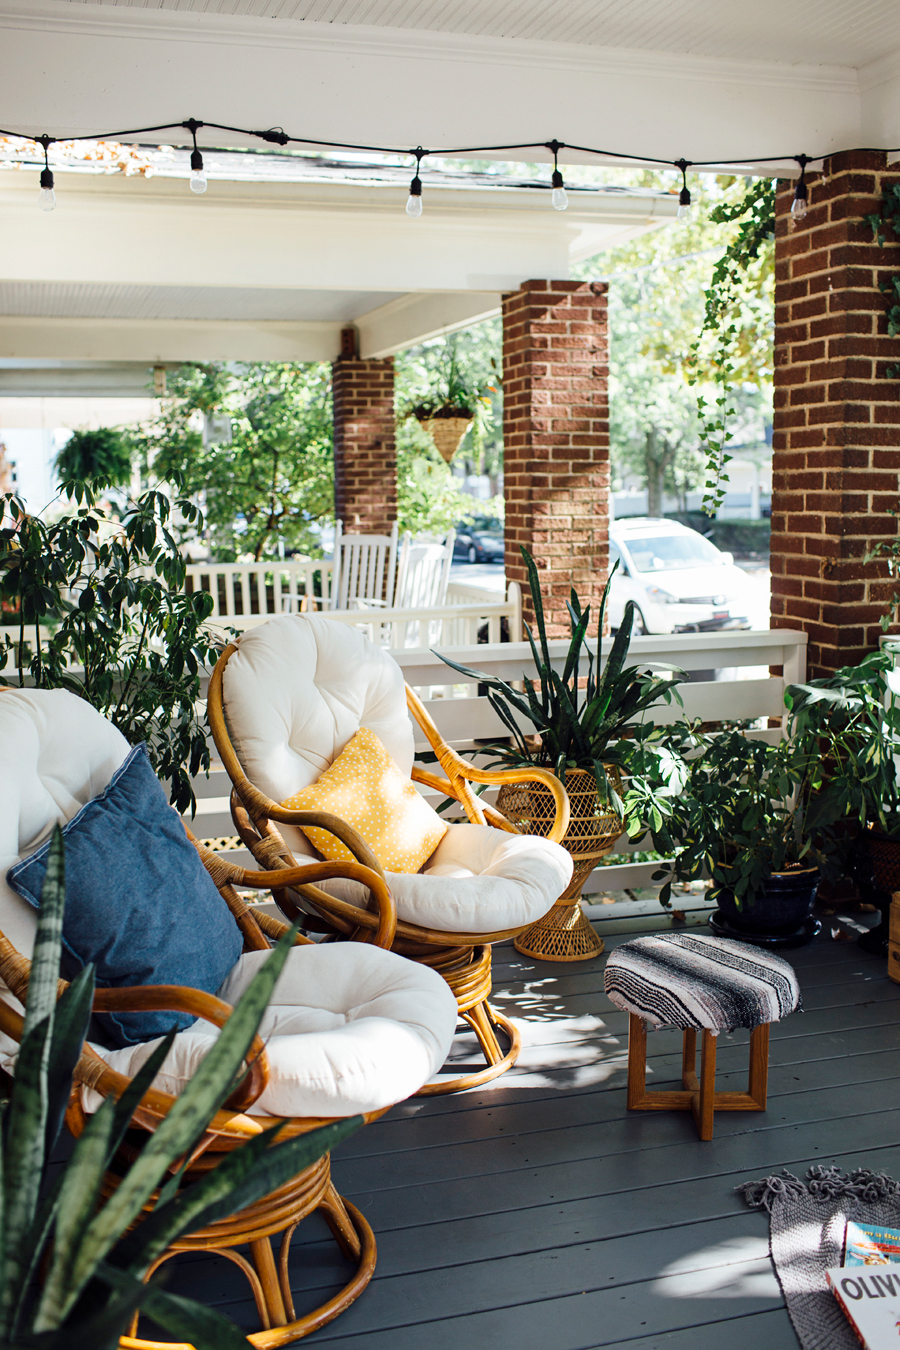
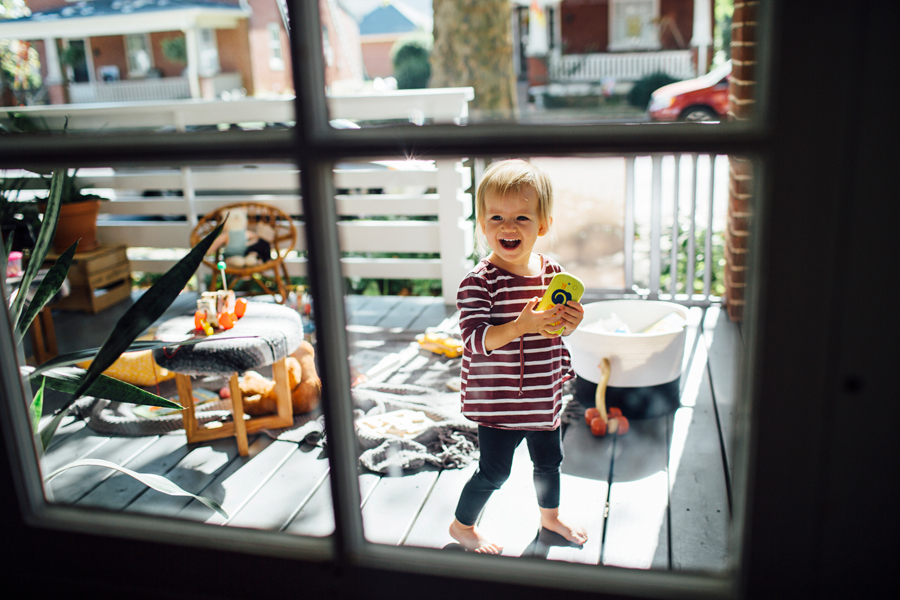
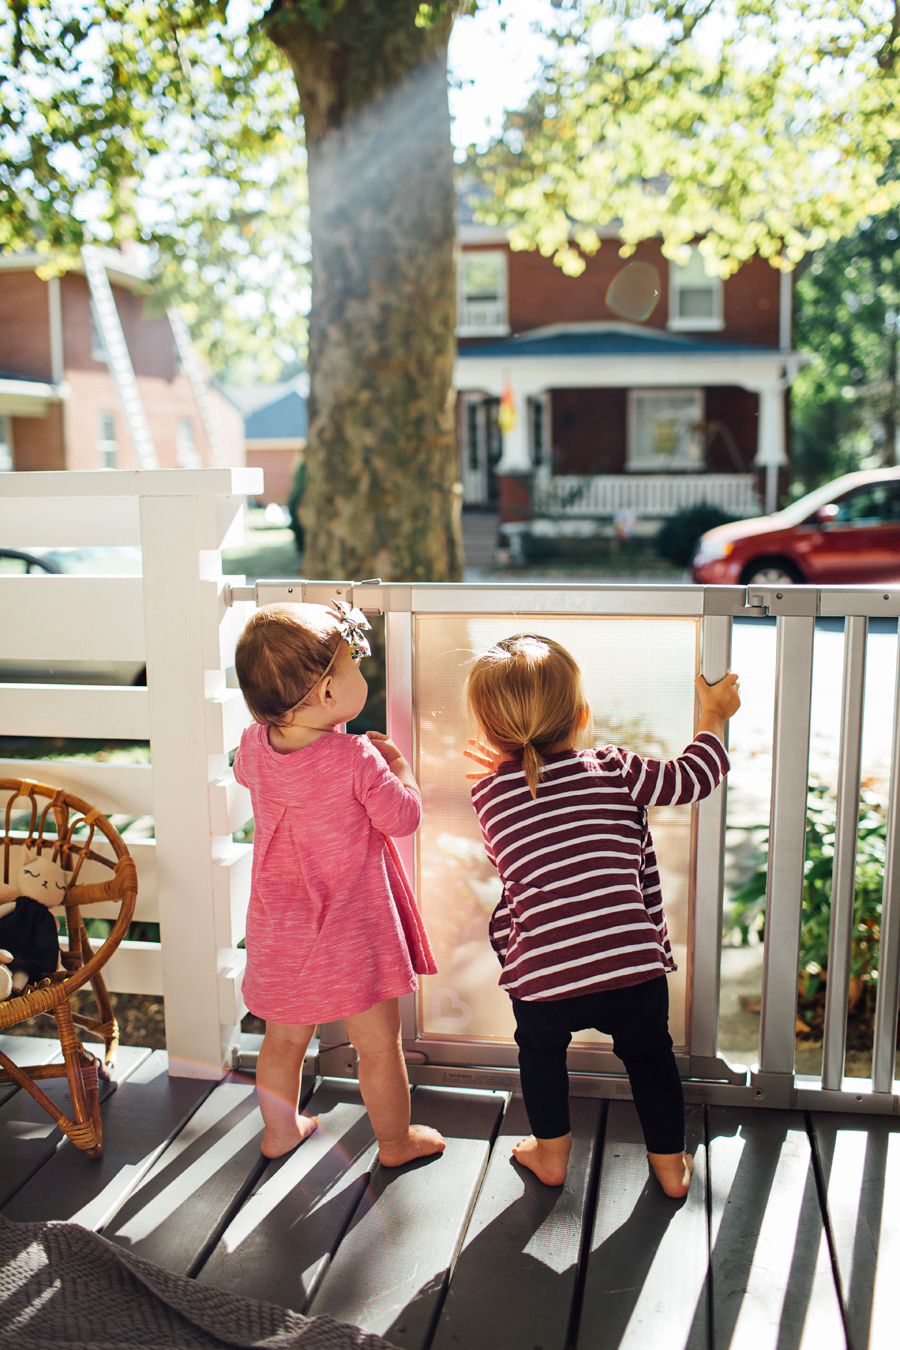
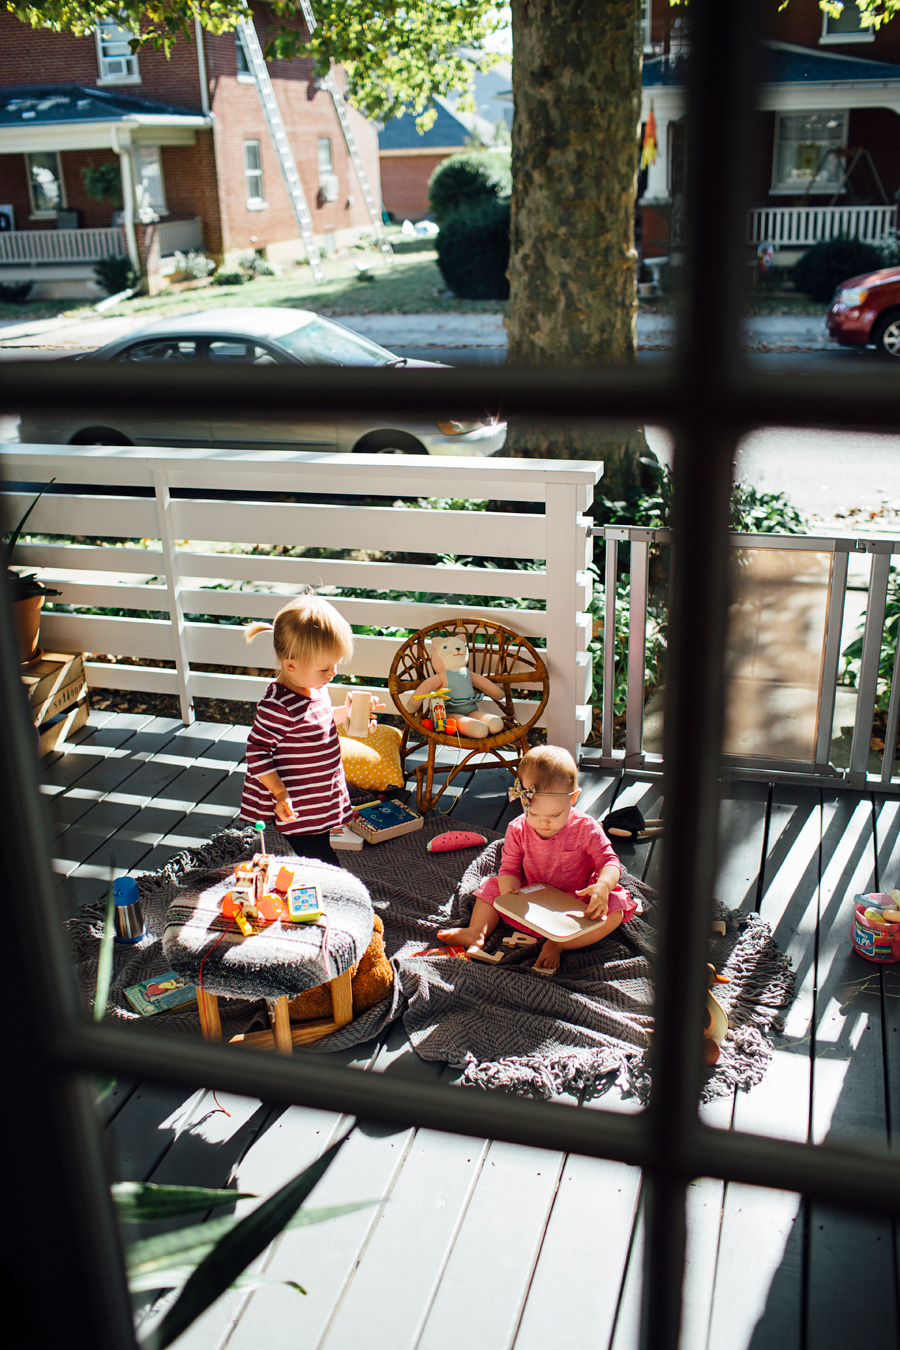
BUT NOT ANYMORE! Last fall, our talented friend Josh built us a porch railing and I'm so in love with it. I'm obsessed with the way it looks and the design he came up with. My only instructions to him were "something horizontal and stripe-y", while waving my hands side to side real fast, trying to picture what it would look like completed. 😂 Not only did we need a railing period, I also wanted it to look more modern and "us" than something we could have picked out at a local hardware store. Again, I'm so thrilled with how it turned out!

brookecourtney_munchkin_frontporch-4.jpg
brookecourtney_munchkin_frontporch-5.jpg
brookecourtney_munchkin_frontporch-6.jpg
brookecourtney_munchkin_frontporch-1.jpg

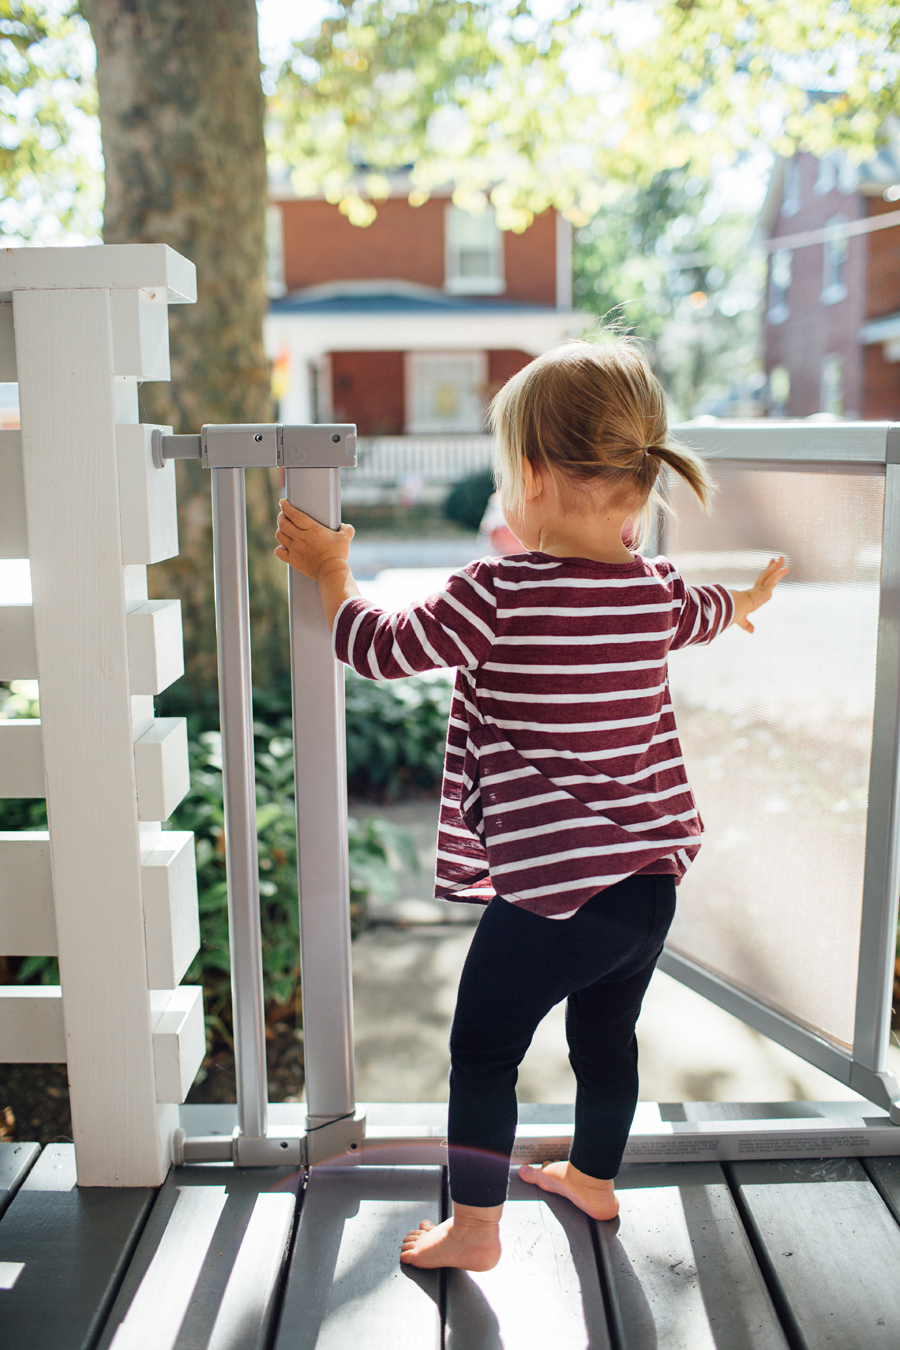
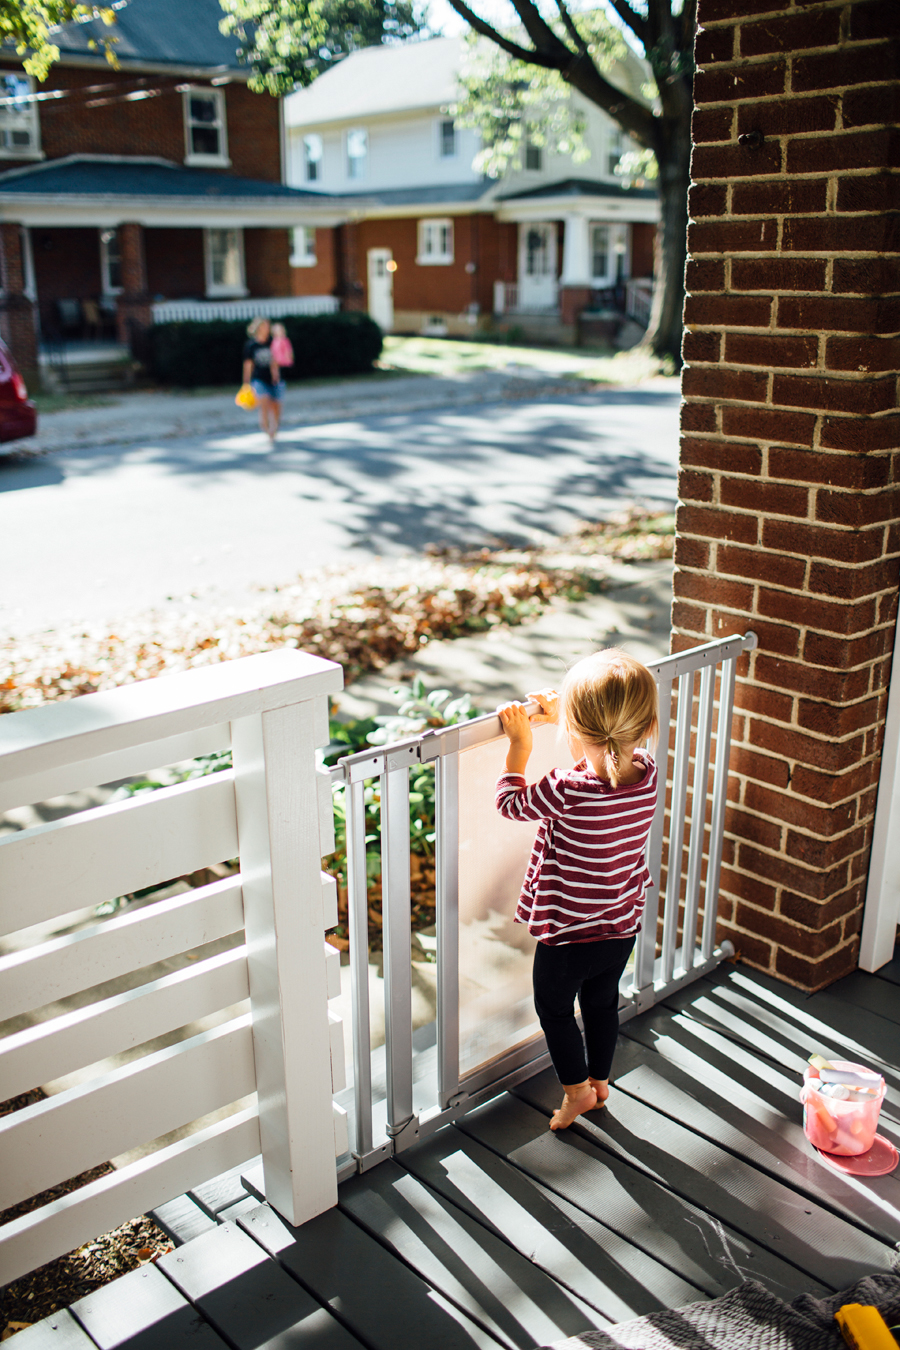
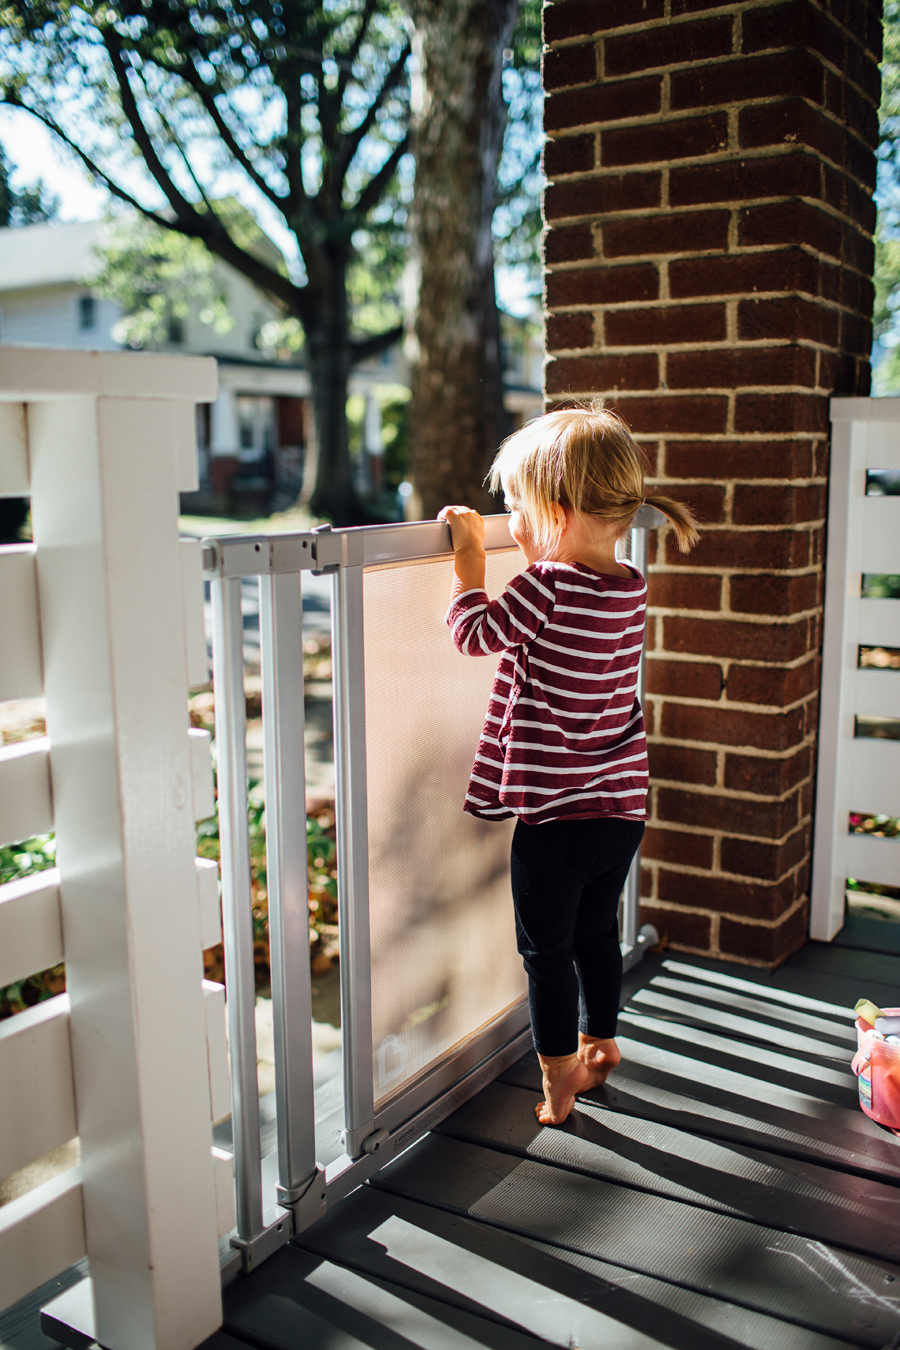
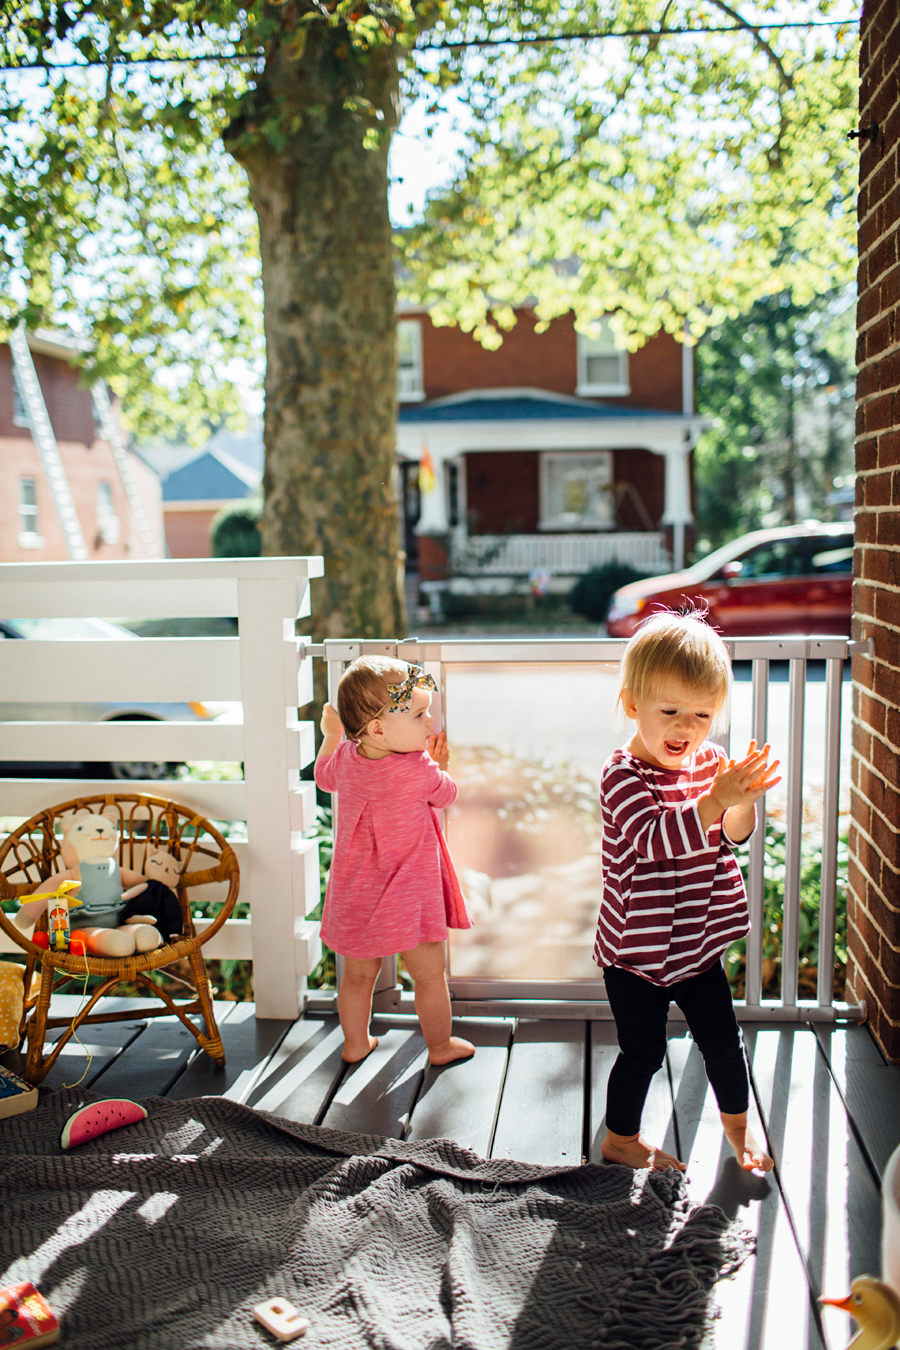
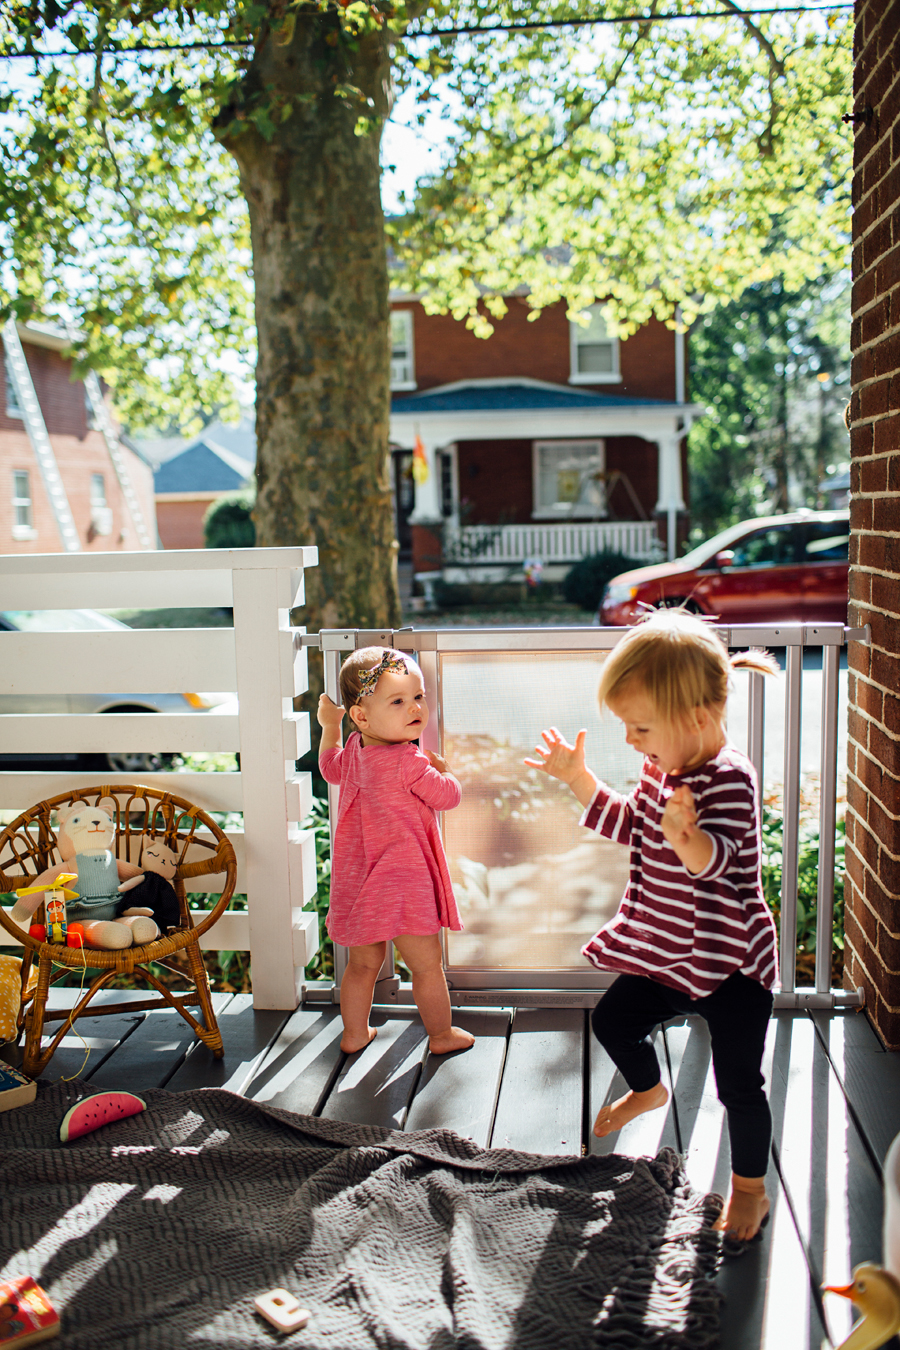
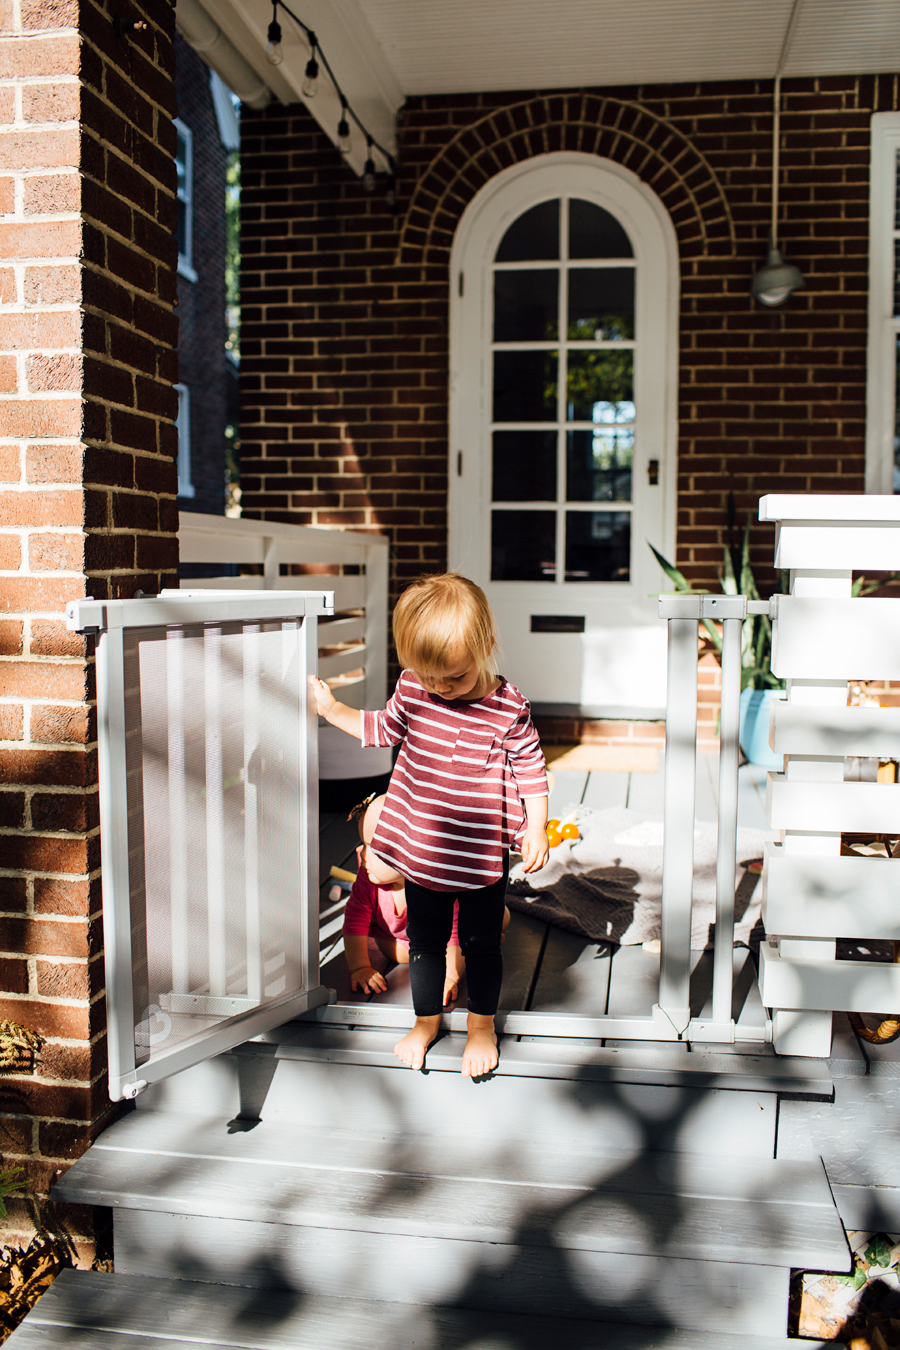
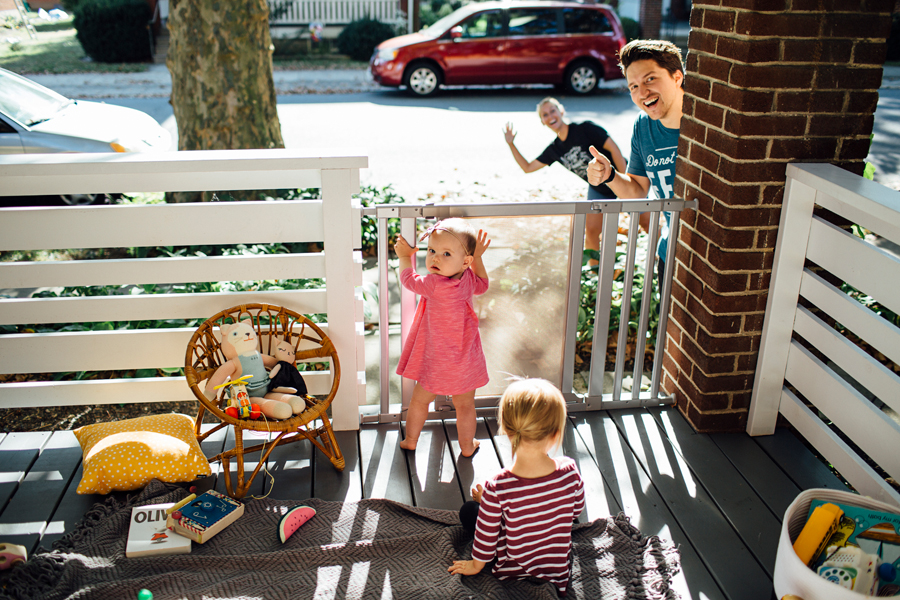
I'd been in the market for a baby gate for awhile when Munchkin reached out to partner up and promote their Vibe Baby Gate. It couldn't have been more perfect timing. June adores being outside and playing on our porch, I however, do not adore the idea of her falling down the porch steps, or climbing down them and half way across the block while I pop back inside for an iced coffee refill. I really didn't want to put a gate out there that was, for lack of a better word, ugly. Ha ha! Enter: the Vibe.

brookecourtney_munchkin_frontporch-3.jpg
brookecourtney_munchkin_frontporch-7.jpg
brookecourtney_munchkin_frontporch-16.jpg
brookecourtney_munchkin_frontporch-12.jpg

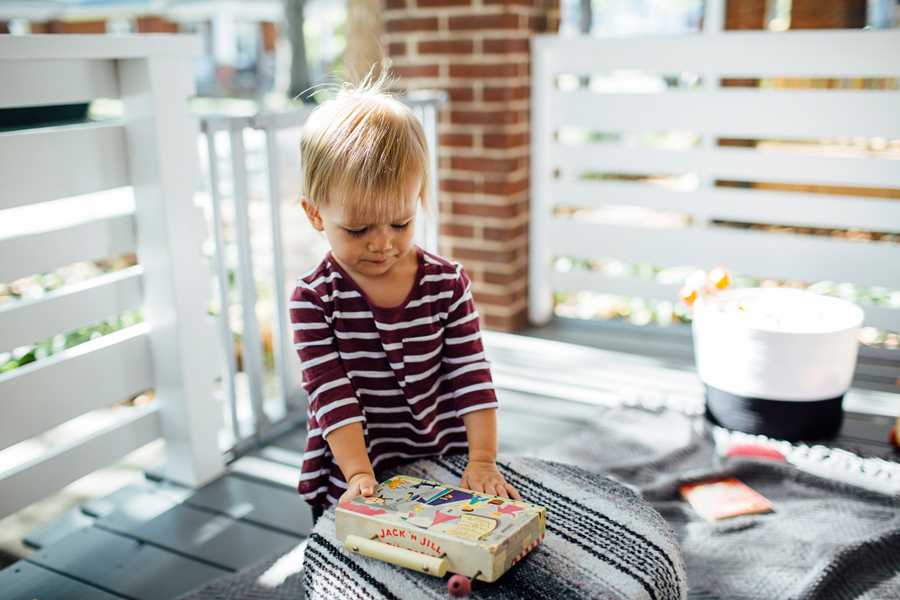
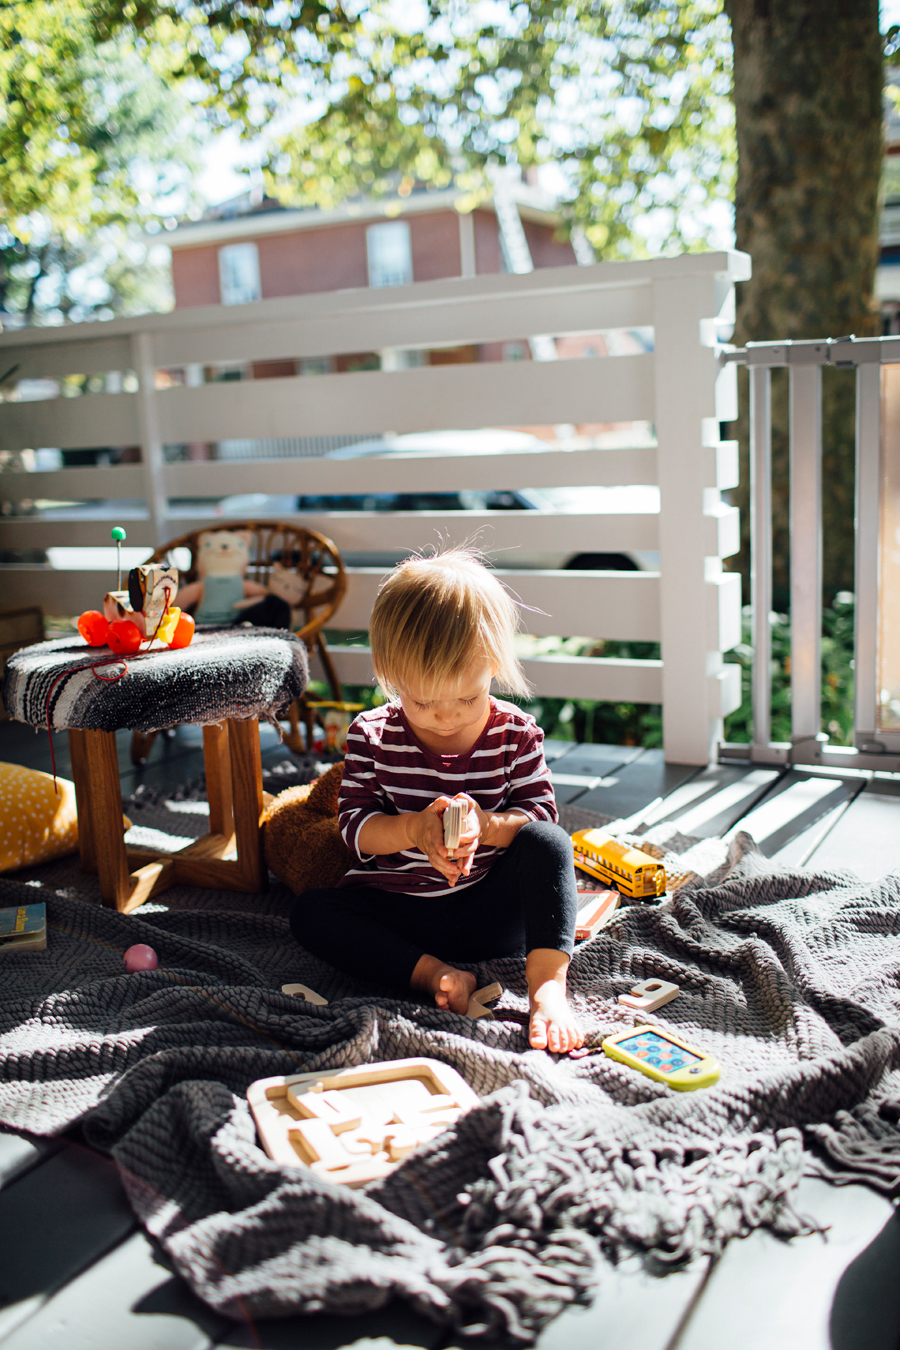
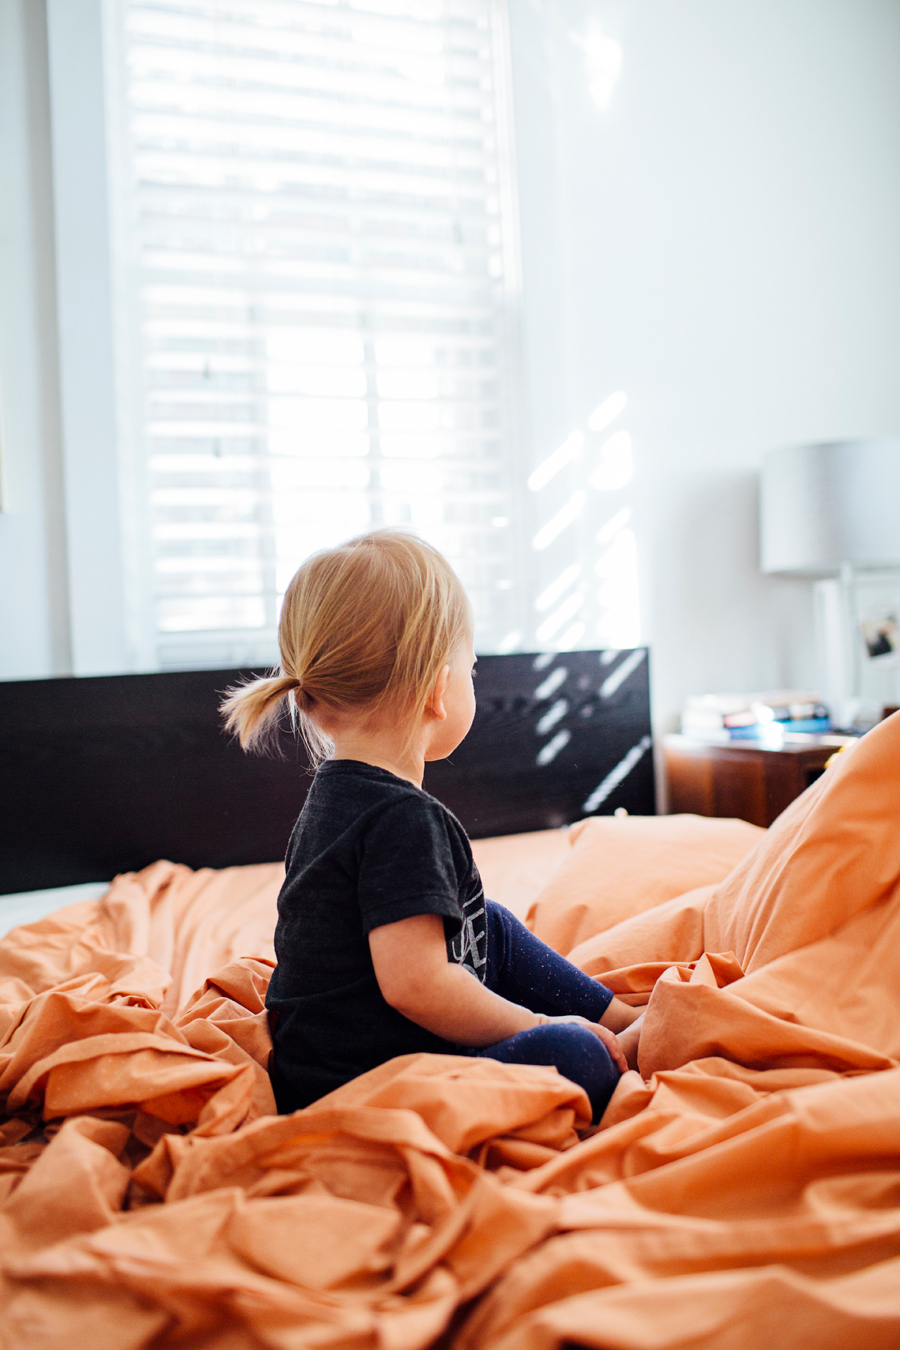
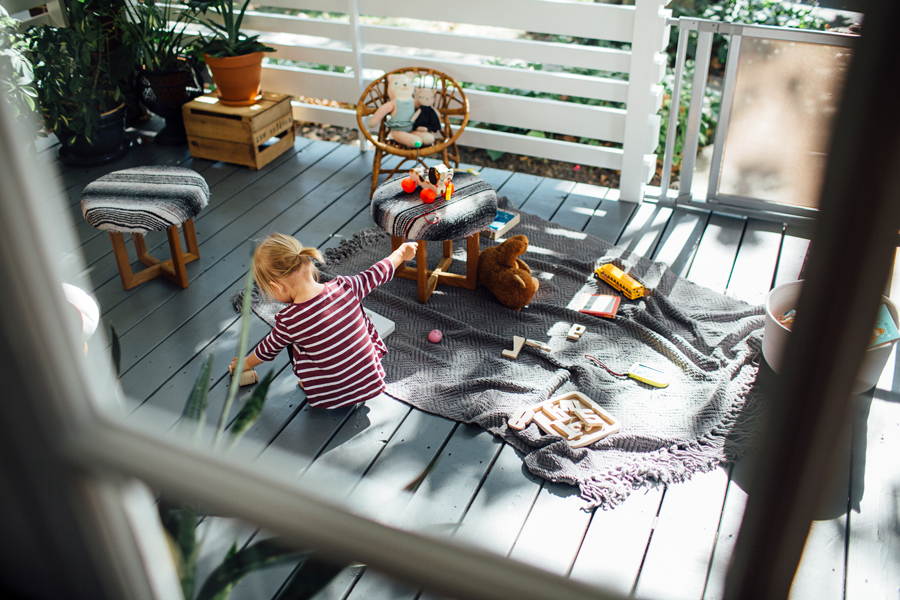
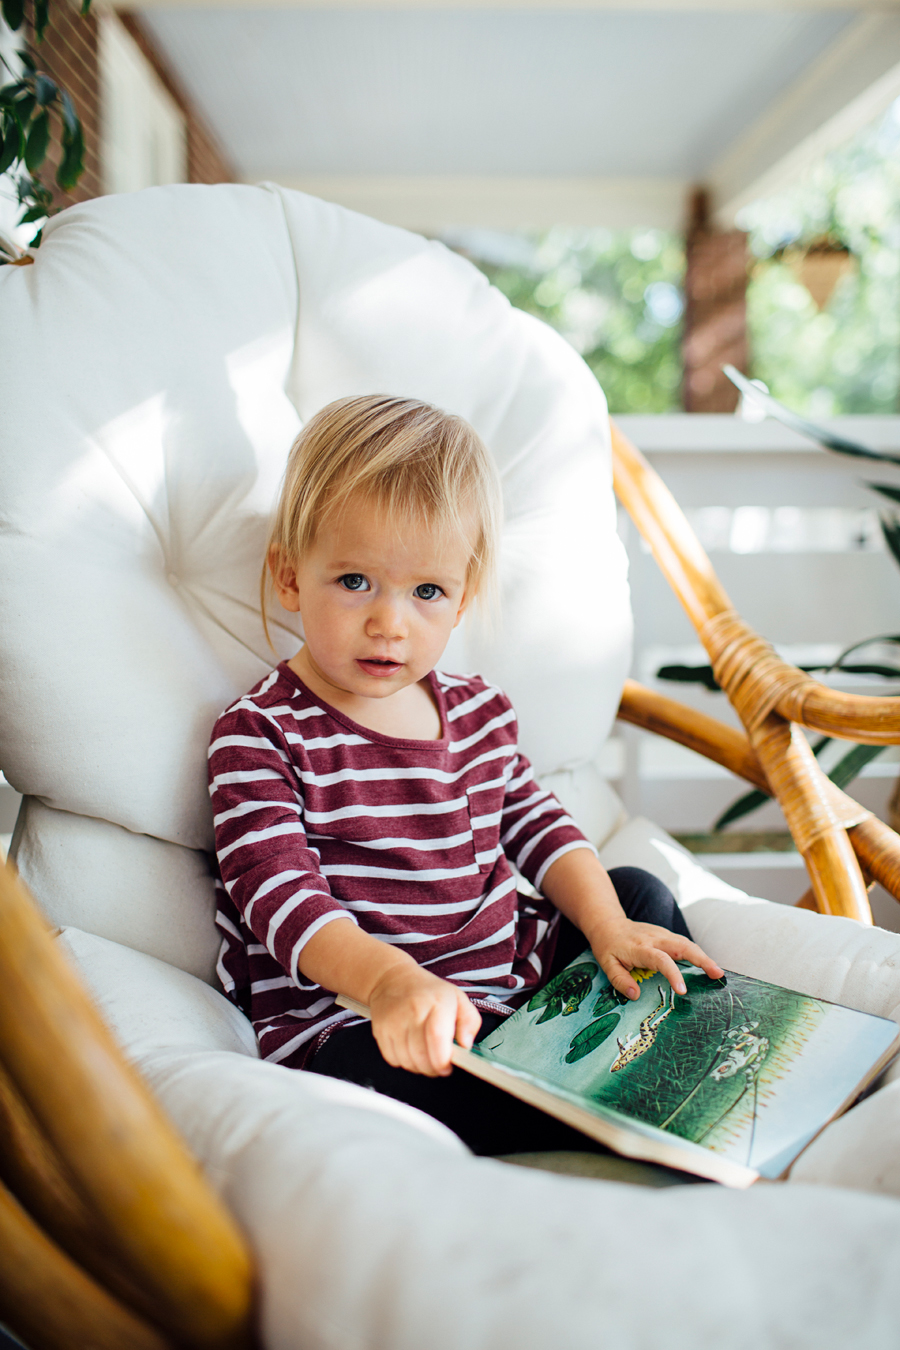
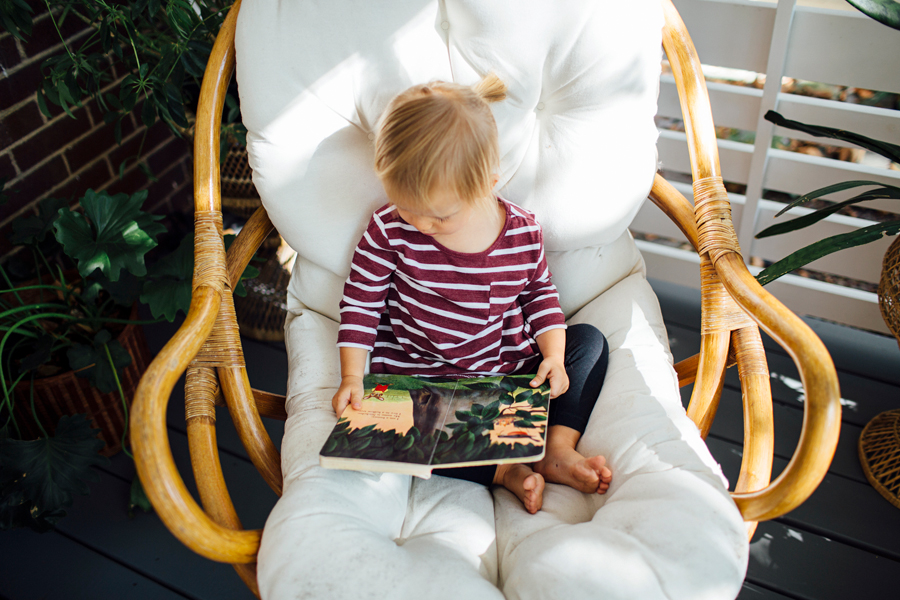
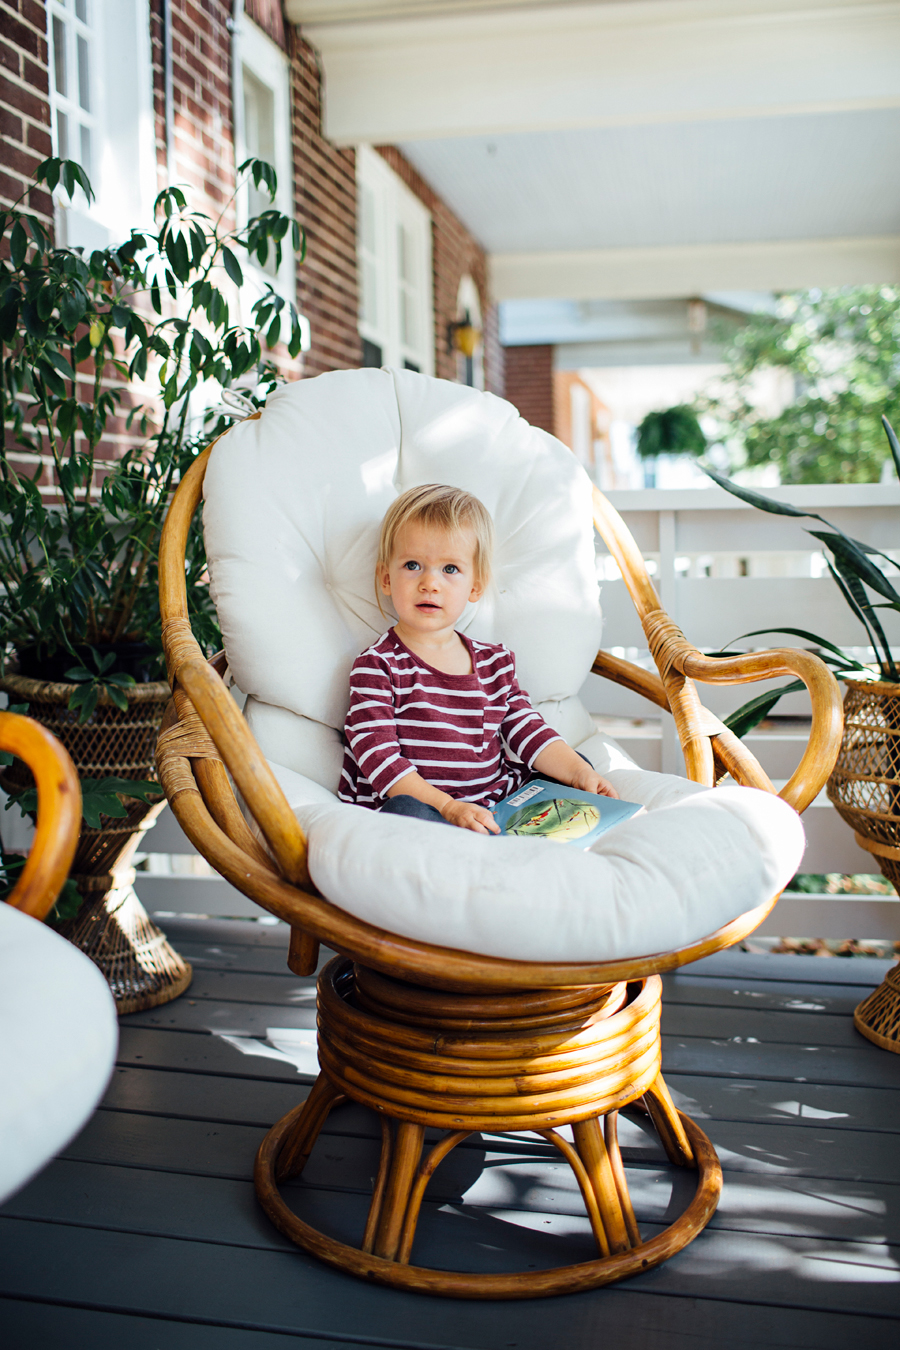
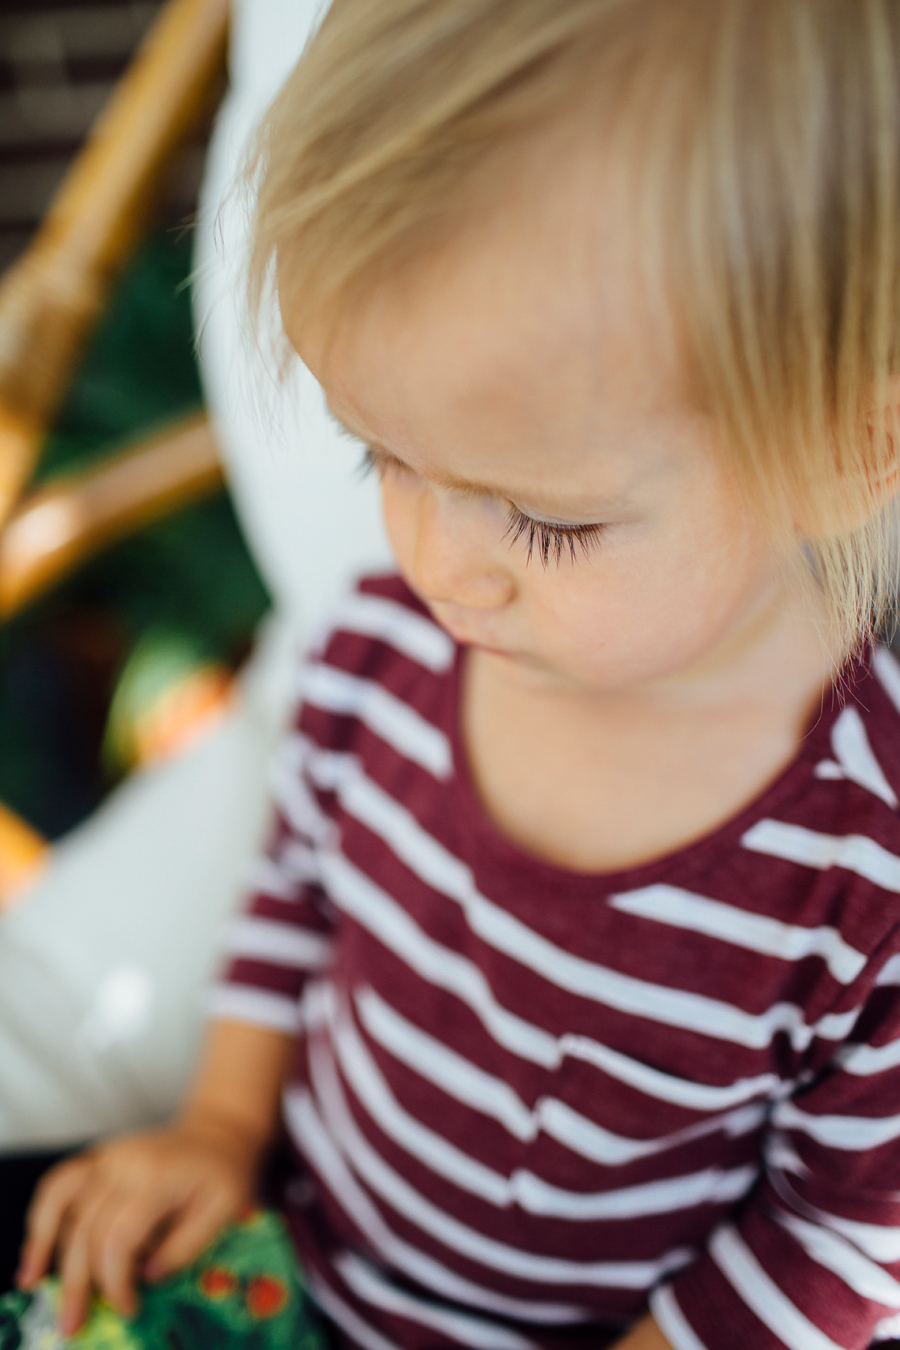
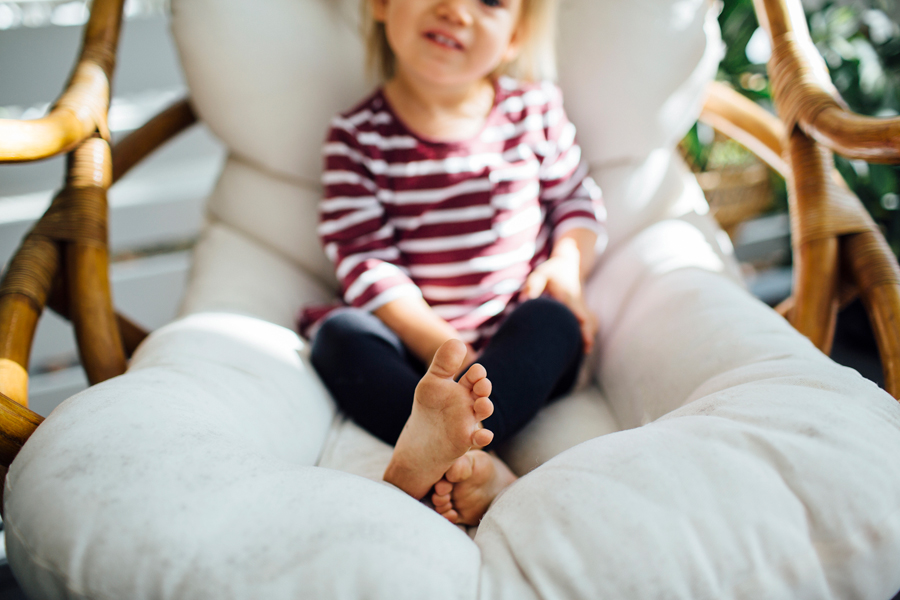
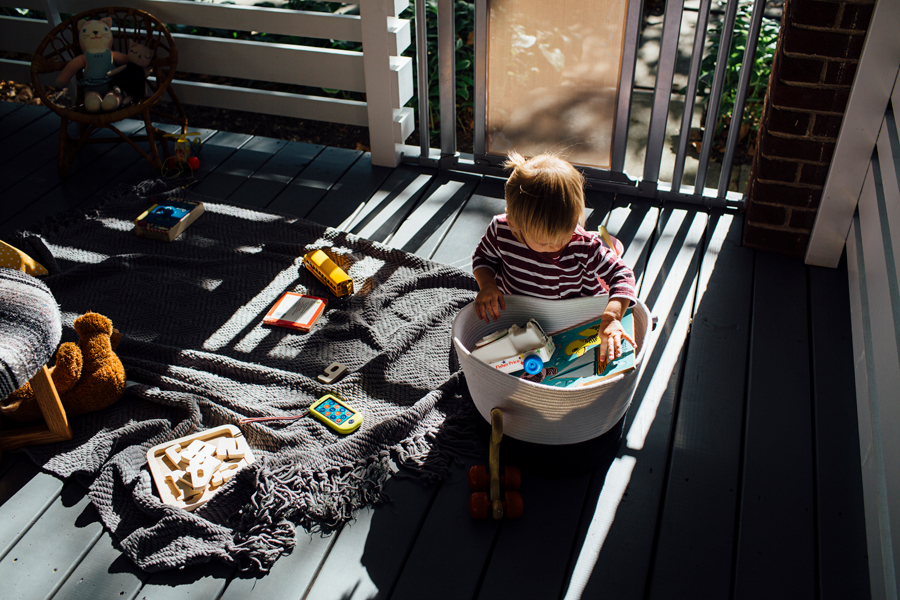
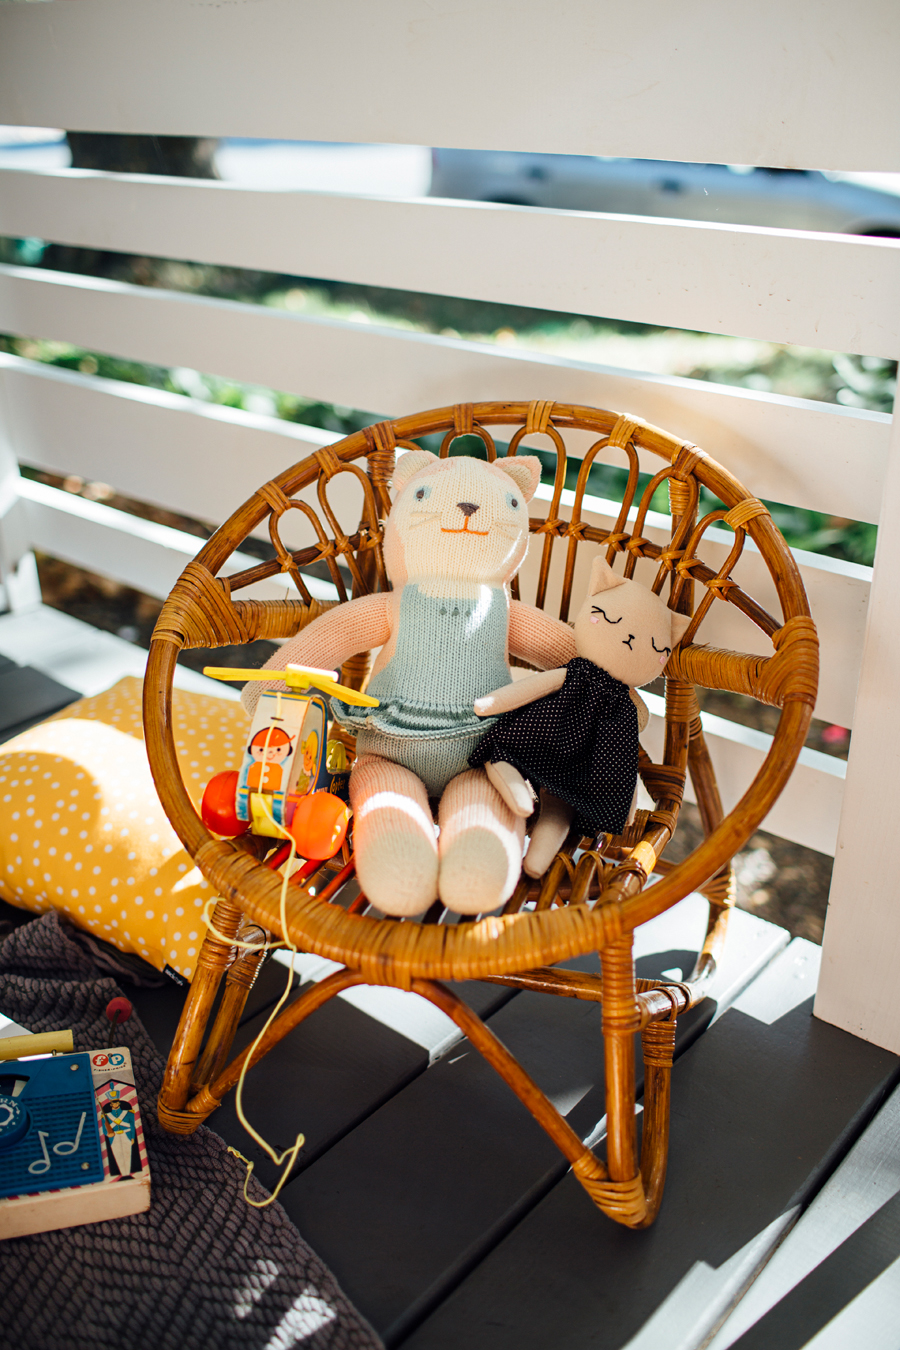
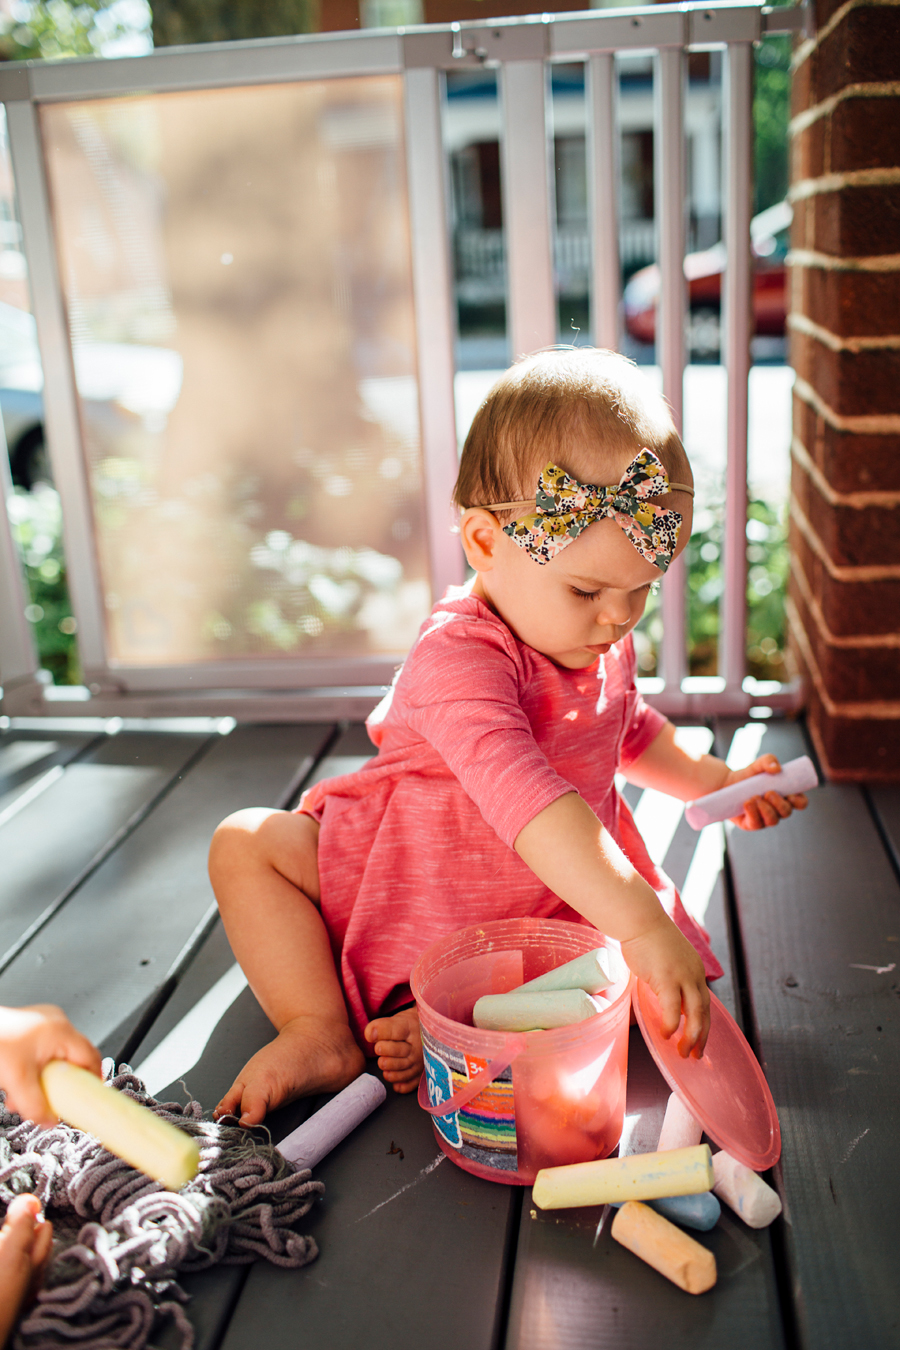
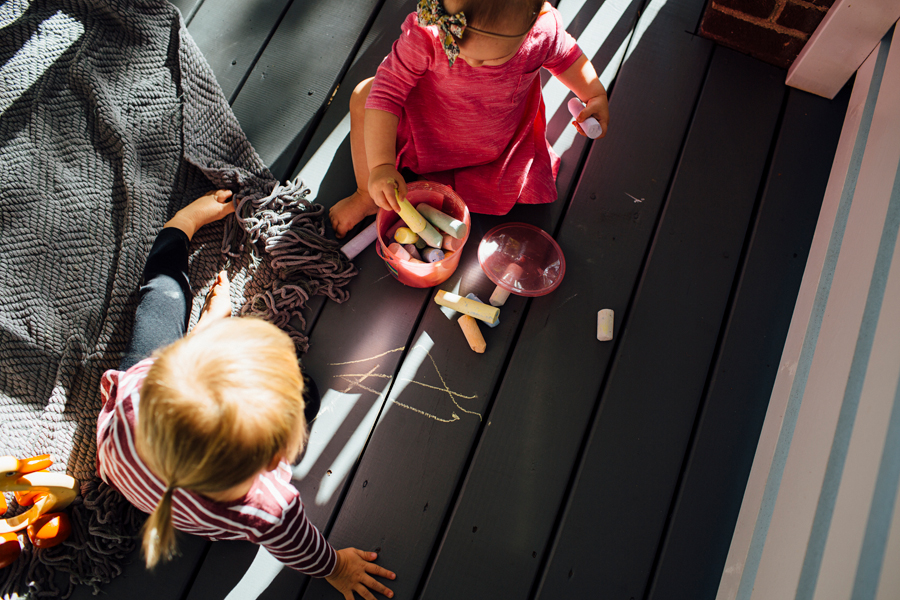
The weather has been beautiful lately. Yesterday we were out on the front porch for almost two hours playing with toys, reading books, eating snacks, pointing at airplanes, and all of it made my Momma heart so happy. Note June's dirty little feet in the photo below... I just... I can't even... 😍

brookecourtney_munchkin_frontporch-10.jpg
brookecourtney_munchkin_frontporch-9.jpg
brookecourtney_munchkin_frontporch-11.jpg
brookecourtney_munchkin_frontporch-13.jpg
brookecourtney_munchkin_frontporch-14.jpg
brookecourtney_munchkin_frontporch-15.jpg
brookecourtney_munchkin_frontporch-20.jpg
brookecourtney_munchkin_frontporch-17.jpg

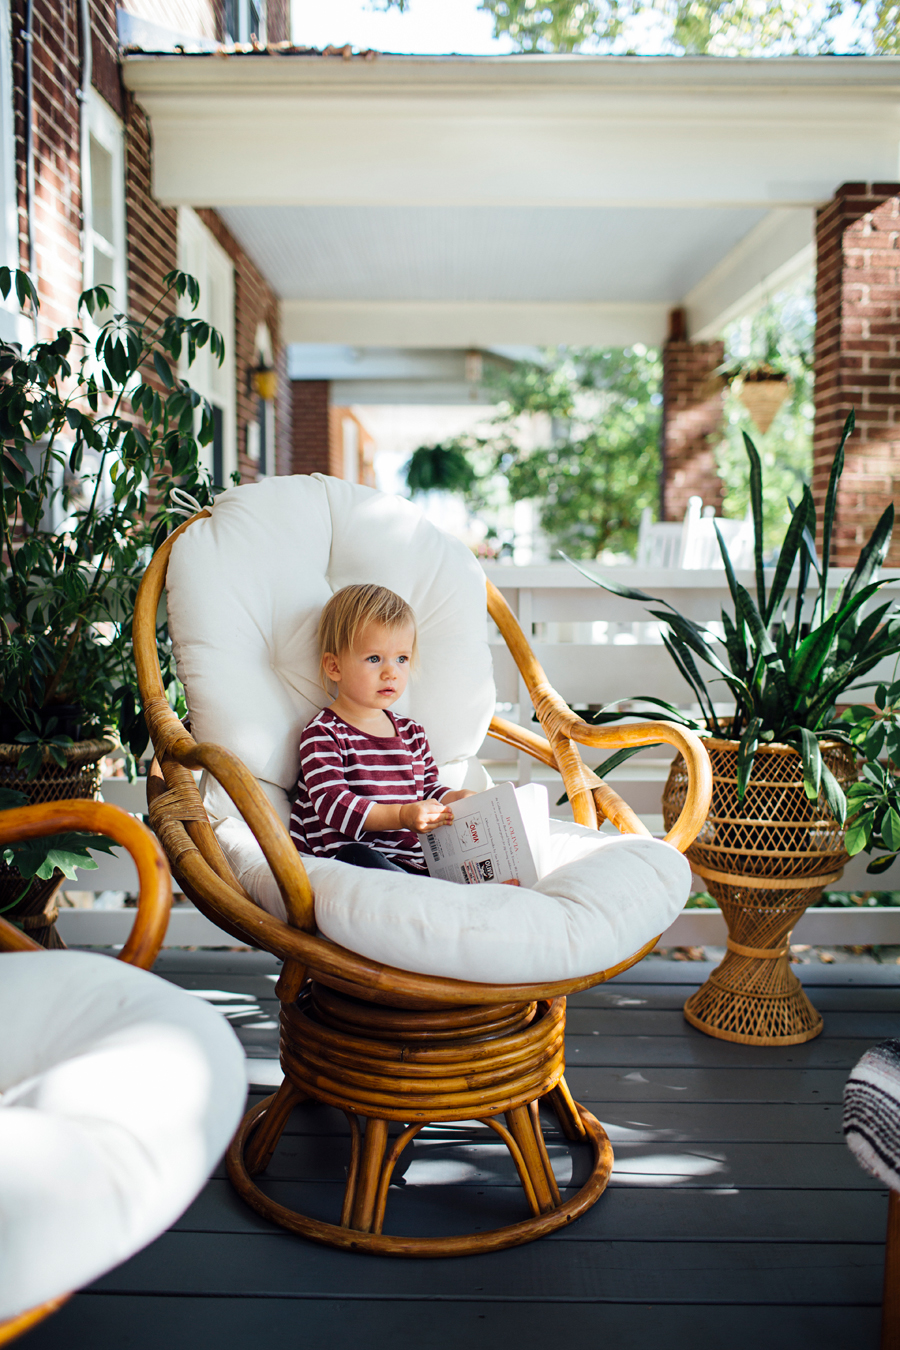
One of my favorite things about the Vibe gate, besides how sturdy it is, is the mesh panel in the middle. Hello privacy. Not only does the color of the gate happen to match our front porch perfectly - like, weirdly perfectly - the clean and modern design fits seamlessly with our new railing. Amazing. Knowing the front porch is safe for June has quite literally added a whole new room to our house during the warmer months.

If you're in the market for a baby gate, I'd highly suggest Munchkin's Vibe Gate. It's baller. (Register for it if you're expecting, too!)

June's neighbor and bestie, Clara, came over yesterday to play. June was pumped up when she saw Kim and Clara coming across the street. I love watching her get so excited about things!

brookecourtney_munchkin_frontporch-18.jpg
brookecourtney_munchkin_frontporch-19.jpg
brookecourtney_munchkin_frontporch-25.jpg
brookecourtney_munchkin_frontporch-21.jpg
brookecourtney_munchkin_frontporch-22.jpg
brookecourtney_munchkin_frontporch-23.jpg

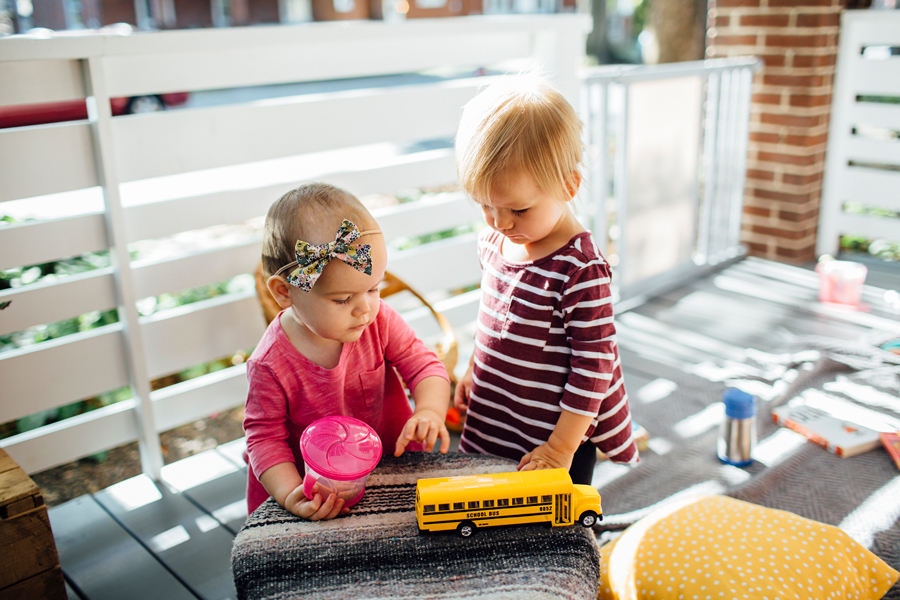
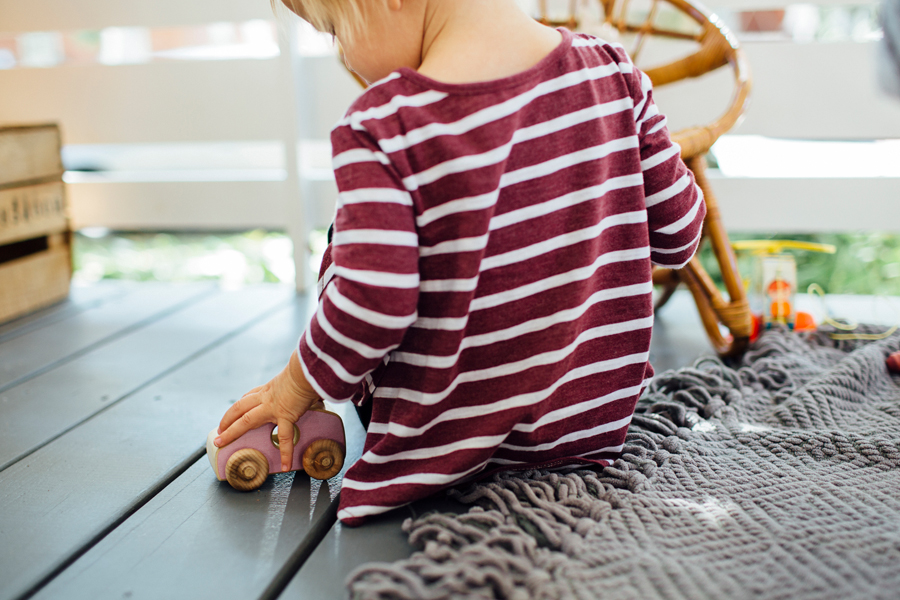
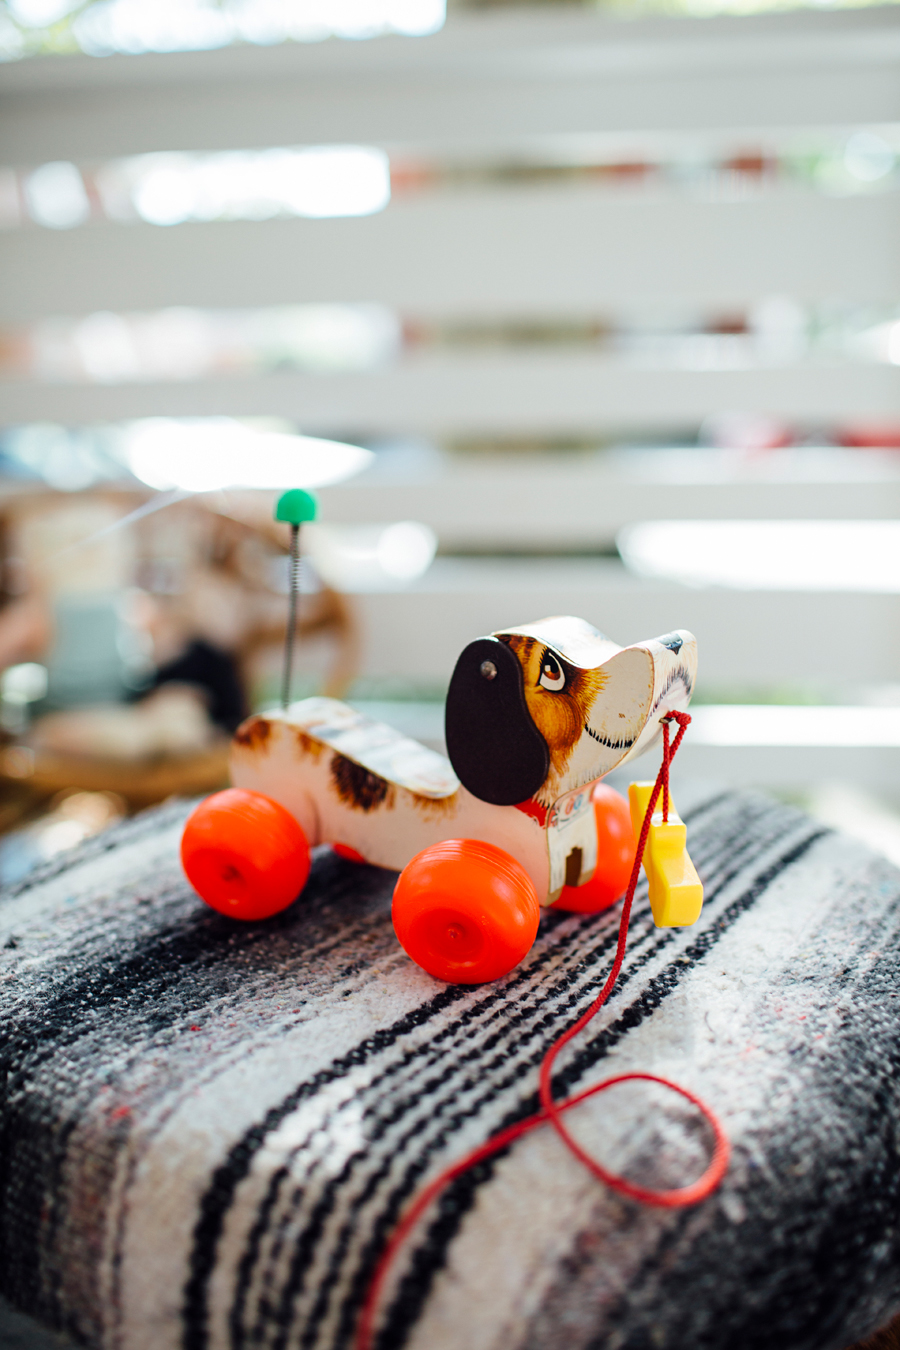
Now that kids are back in school, June loves watching the school buses drive by our house every afternoon. I picked up a toy school bus at a thrift store this week for $2.75 and she loves it. When they drive by she claps and yells "YAY!" for them, like it's a parade.

brookecourtney_munchkin_frontporch-26.jpg
brookecourtney_munchkin_frontporch-27.jpg
brookecourtney_munchkin_frontporch-28.jpg
brookecourtney_munchkin_frontporch-29.jpg
brookecourtney_munchkin_frontporch-30.jpg

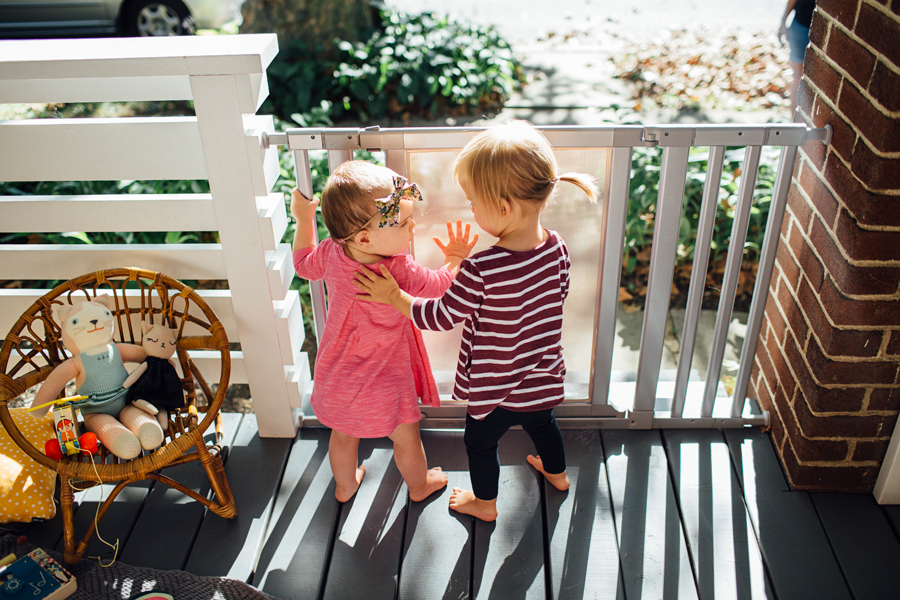
Clara has started giving kisses and leans in with this face when she wants to give you one. 😂 It's so cute. I can't imagine not having awesome neighbors like we do. You have no idea how often Kim and I text each other with "Can my kid come over and stare at yours?" when we're trying to keep them awake, busy or are just looking for an excuse to eat cookies together.

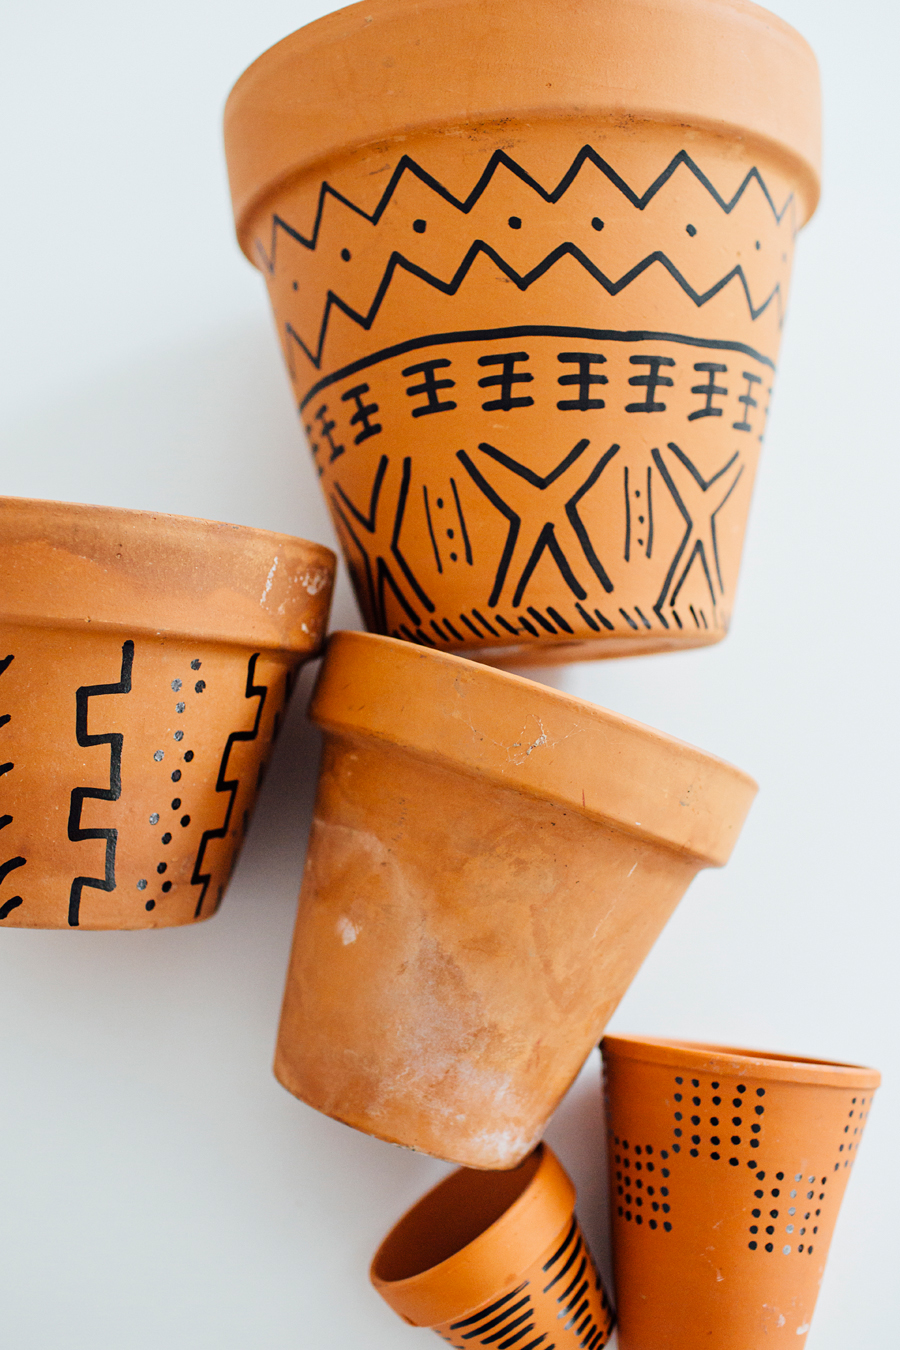
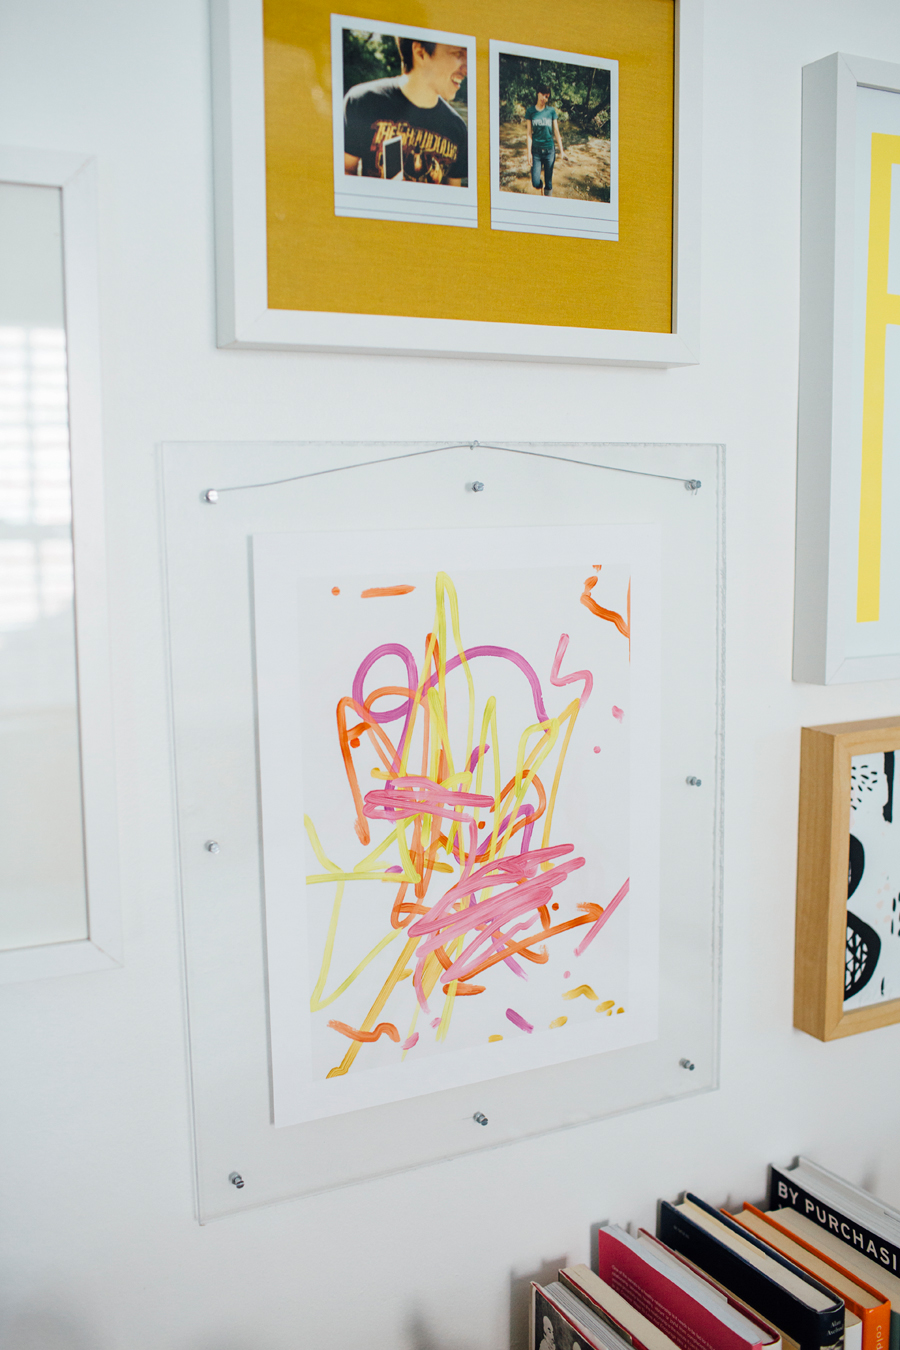
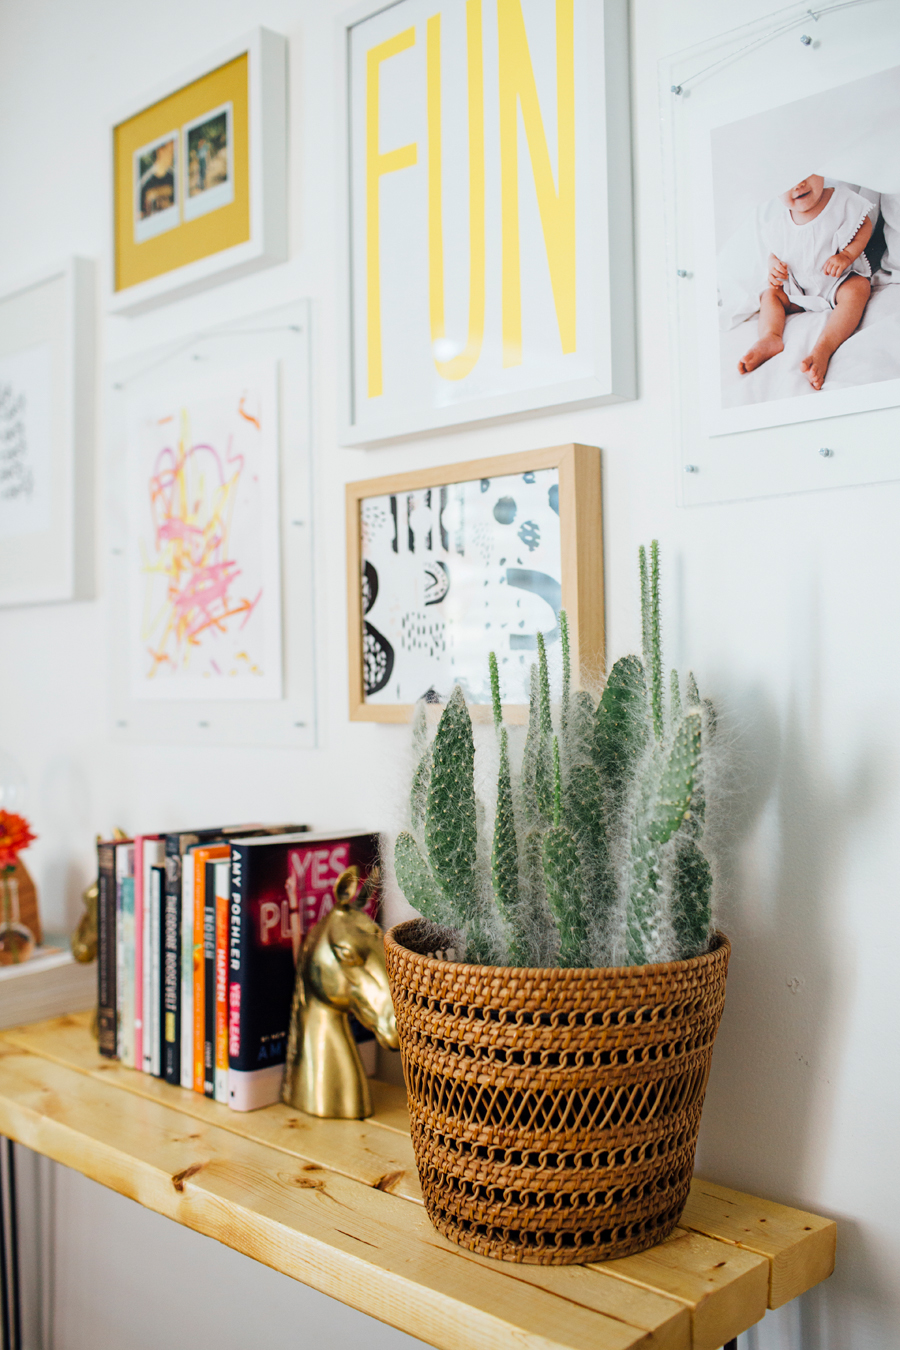
I'm already thinking about how I want to decorate the porch for fall. And Halloween. And Christmas. And next spring...  And then I get thinking about our back deck and all the possibilities that holds if we get that redone! (It's currently really ugly and sinking into the ground. For reals. 😂) Dinner parties and sandboxes and comfy chairs and all. the. plants. Next year!

brookecourtney_munchkin_frontporch-34.jpg
brookecourtney_munchkin_frontporch-32.jpg
brookecourtney_munchkin_frontporch-33.jpg
brookecourtney_munchkin_frontporch-35.jpg
brookecourtney_munchkin_frontporch-31.jpg

This post was sponsored by Munchkin. As always, all opinions are my own. Thanks for supporting my blog and the awesome people who sponsor it.

In HOME, LIFE Tags Front Porch, House Tour, Outdoors, Sponsored, Partner, Munchkin
1 Comment

Our Bedroom Makeover with method | #fearnomess

Brooke Courtney September 6, 2016

I want to start off by letting you all know that I am partnering with method on this post, and although this content is sponsored, all opinions are my own. With that in mind, let me tell you that I freakin' love method. Just come over and dig through my closets (or my shopping cart at Target) and that'll be confirmed. Soaps and cleaners and dishwasher pods, each smelling better than the last. So, naturally, I was honored when method reached out and challenged me to #fearnomess. It's also not a surprise that when I thought about a mess, I instantly thought about our bedroom. 😬

Our bedroom has long been the forgotten room in our home. Over time, every other piece of dark/black furniture in our house has been replaced, except our bed frame -- which left our bedroom feeling darker than I'd like and heavy. Our room gets beautiful morning light, but I just felt like nothing was pulled together, the room was boring, and it was always messy... which I'm sure you can see for yourself in the "before" images below.

brookecourtney_methodbedroommakeover-2.jpg
brookecourtney_methodbedroommakeover-3.jpg
brookecourtney_methodbedroommakeover-6.jpg
brookecourtney_methodbedroommakeover-7.jpg
brookecourtney_methodbedroommakeover-4.jpg
brookecourtney_methodbedroommakeover-9.jpg
brookecourtney_methodbedroommakeover-5.jpg
brookecourtney_methodbedroommakeover-10.jpg

Insert the #fearnomess challenge and I was READY. TO. GO. Get a fresh looking bedroom and have it smell like magical clementine in the process? Win, win.

We started by taking almost everything out of the room, stripping the linens off our bed, and taking apart the old bed frame. Behind the bed, which probably hadn't been cleaned in yearrrrrs, was so gross. Under our bed was more mess - bobby pins, books, toys, wrappers. 😂

brookecourtney_methodbedroommakeover-8.jpg
brookecourtney_methodbedroommakeover-15.jpg
brookecourtney_methodbedroommakeover-14.jpg
brookecourtney_methodbedroommakeover-17.jpg
brookecourtney_methodbedroommakeover-13.jpg

Once the old bed frame was out of the way, I got to work cleaning. And I washed everything. Even the walls, which were so dusty and gross. Our house was built in 1929 and most of the walls are plaster.... giving them just enough texture to hold onto dust and dirt over time. After about an hour of cleaning, the room looked and smelled amazing, we were ready to start bringing the fun projects into the room!

Note: Penny looking down in judgement at the floor while I clean. June smacking T.J. on the head for comedic value, saying "boinggggg". And T.J. cassssually posing with the all-purpose cleaner while I'm trying to take my "before" photos.

brookecourtney_methodbedroommakeover-19.jpg
brookecourtney_methodbedroommakeover-16.jpg
brookecourtney_methodbedroommakeover-12.jpg
brookecourtney_methodbedroommakeover-20.jpg
brookecourtney_methodbedroommakeover-21.jpg
brookecourtney_methodbedroommakeover-18.jpg

Years ago we replaced a heavy and dated looking built in bookshelf in our room with this mantle that I found at a yard sale down the block for only $12! And ever since, I've wanted to add the faux brick inside the mantle. So, T.J. took out the boring piece of plywood that had been there, and we replaced it the brick! I love it. It adds so much more character to the mantle!

brookecourtney_methodbedroommakeover-22.jpg
brookecourtney_methodbedroommakeover-23.jpg
brookecourtney_methodbedroommakeover-24.jpg
brookecourtney_methodbedroommakeover-25.jpg
brookecourtney_methodbedroommakeover-26.jpg
brookecourtney_methodbedroommakeover-27.jpg

While I put two coats of white paint on the new mantle insert, T.J. started building our new bed from Ikea. Once that was complete, we unboxed our amazing new mattress from Tuft & Needle (more on this to come!).

I knew I wanted our room to feel lighter and brighter, but I also wanted it to have more personality. For being a photographer, I barely have any photos printed and hanging in our home. (Womp, womp.) I printed one of my favorite photos of June, from our trip to Hawaii, along with one of her iPad drawings and made plexi glass frames for them. (Tutorial to come +)

Then I gathered a handful of terra cotta pots from our yard/garage, washed them off and drew on them with a sharpie paint pen. Seriously, there isn't anything you can't make cooler with a sharpie paint pen.

brookecourtney_methodbedroommakeover-28.jpg
brookecourtney_methodbedroommakeover-29.jpg
brookecourtney_methodbedroommakeover-70.jpg
brookecourtney_methodbedroommakeover-32.jpg

Other than our mantle, there really wasn't any furniture in our room that could hold plants, photos, books, etc. So I decided to make a table! Well, I decided to screw together a few pieces of wood and attach them to these awesome hairpin legs we already had lying around. Since I already had the legs, the whole project only cost me $4.34! Yasssssss.

Once the table was in place, I placed the gallery wall frames into a design on my bed, and then transferred that layout to the wall above said table. Finally! Some personality in our room! I also framed two polaroids of T.J. and myself that we took of one another on our 2nd date. 😍

brookecourtney_methodbedroommakeover-30.jpg
brookecourtney_methodbedroommakeover-31.jpg
brookecourtney_methodbedroommakeover-33.jpg
brookecourtney_methodbedroommakeover-34.jpg

With the frames in place, I added the final artwork, and the remainder of finishing touches on the room! And before we knew it - voila! - a brand new bedroom. TAKE THAT MESS!

brookecourtney_methodbedroommakeover-35.jpg
brookecourtney_methodbedroommakeover-36.jpg
brookecourtney_methodbedroommakeover-39.jpg
brookecourtney_methodbedroommakeover-40.jpg

I have always loved that method is animal friendly. Their products are formulated to put the hurt on dirty without harming furry friends - which, in our case, is four cats. I am in full support of no animal testing or animal bi-products. Yay method!

brookecourtney_methodbedroommakeover-41.jpg
brookecourtney_methodbedroommakeover-43.jpg
brookecourtney_methodbedroommakeover-46.jpg
brookecourtney_methodbedroommakeover-47.jpg
brookecourtney_methodbedroommakeover-48.jpg
brookecourtney_methodbedroommakeover-37.jpg

And of course I had to have lots of thrifted items in the new room. So, here's a quick list of those items: night stands, peacock chair, velvet pillows, terra cotta pots, basket for cactus, horse book ends, basket for our shoes (below table), vintage bed spread and the pineapple dish on my nightstand!

brookecourtney_methodbedroommakeover-44.jpg
brookecourtney_methodbedroommakeover-50.jpg
brookecourtney_methodbedroommakeover-51.jpg
brookecourtney_methodbedroommakeover-42.jpg
brookecourtney_methodbedroommakeover-60.jpg

I found a free image of horses online and fell in love with the idea of printing it really big, in black and white, to frame above the mantle! I took the file to Office Max and had them print it on their blueprint printer and it only cost me $2.08. That's my kinda art!

brookecourtney_methodbedroommakeover-67.jpg
brookecourtney_methodbedroommakeover-53.jpg
brookecourtney_methodbedroommakeover-52.jpg
brookecourtney_methodbedroommakeover-49.jpg
brookecourtney_methodbedroommakeover-38.jpg
brookecourtney_methodbedroommakeover-62.jpg

I love waking up every morning to see the gallery wall with June's art and picture, along with some of my favorite pieces from friends, in our ever-growing art collection.

brookecourtney_methodbedroommakeover-57.jpg
brookecourtney_methodbedroommakeover-63.jpg
brookecourtney_methodbedroommakeover-69.jpg
brookecourtney_methodbedroommakeover-55.jpg
brookecourtney_methodbedroommakeover-54.jpg
brookecourtney_methodbedroommakeover-58.jpg
brookecourtney_methodbedroommakeover-68.jpg

Well, there you have it! I hope this makeover inspires you to tackle whatever it is in your home that you think is a total mess. You can do it! I believe in you! Just drink lots of iced coffee and spray everything in sight with that magical smelling method cleaner and it'll all turn out awesome. 😃

I'd love to know what part of the bedroom makeover was your favorite, too! The table? The art? Leo hanging out on the bed like a king? Yeah, that's my favorite thing too.

brookecourtney_methodbedroommakeover-45.jpg
brookecourtney_methodbedroommakeover-65.jpg
brookecourtney_methodbedroommakeover-66.jpg
brookecourtney_methodbedroommakeover-61.jpg
brookecourtney_methodbedroommakeover-56.jpg
In HOME, DIY Tags DIY, Bedroom, House Tour, Sponsored, Partner
5 Comments
brookecourtneykitchen

Kitchen / Before + Progress

Brooke Courtney June 24, 2016

There is something just so magical about before and after photos, on any subject really - food, houses, weight loss, organization. If you're anything like me though, you know that nothing is ever really done. And I don't mean that I don't finish things, I do!, just that... my house is always evolving to be more like who I am, who we are as a family, and what our current needs are. I swap artwork and pillows and decor around all the time. Which is why I'm calling this post "Kitchen: Before + Progress". So, here is the one before photo I snapped - unfortunately after the wall between the two rooms already came down! But what a difference already, right!?!? (I promise to get better at taking before photos for all future house projects!)

From the very day we moved into our house (October 2009), we always knew we wanted the wall to come down between the dining room and our tiny kitchen. But until we could make that happen, our dining room was painted white to brighten up the space, and our kitchen was painted to look more like the 1950s, with the powder blue cabinets and sunny pop of yellow above. When we first moved in the kitchen was shades of tan with forrest green trim straight out of the 1990s. It was bad. I have photos of this somewhere, but can't seem to find them currently.

Anyway, fast forward to fall of 2015 and we asked Josh Strayer, of Home Improvement Services, to do a few projects on our house for us - the biggest one of which was our kitchen remodel.

Here's a rough breakdown of what did:

  • Removed the wall between the dining room and living room.
  • Custom "island" counter with storage below and bar top seating on the other side.
  • A dishwasher installed under new countertop!!!!!!!! (Suck it, sink!)
  • Replaced the small existing counter tops around sink area to match new counters.
  • New oven (it just so happened to crap-out the week we were buying the dishwasher!)
  • White subway tile backsplash was installed floor to ceiling on the wall with the oven.
  • Painted lower cabinets Space Black by Benjamin Moore.
  • Painted upper cabinets and walls Bright White - straight off the shelves at Home Depot (Behr).
  • Added a small cupboard for storage in the "dead space" above the refrigerator.
  • Added additional outlets and a dimmer.
  • Had an outlet installed high in the wall, knowing we wanted to plug in our cord lights that we wrapped around the pipe/fixture we made.
  • Changed out all hardware to be brass. (Planning to change out sink faucet soon, too!)
  • Replaced the boob-light in the kitchen to match the existing dining room light (from Ikea.)

Happy to report that with all those changes, this is what our kitchen looks like on an average day.

kitchen_beforeandprogress-3.jpg
kitchen_beforeandprogress-5.jpg
kitchen_beforeandprogress-2.jpg
kitchen_beforeandprogress-6.jpg

We honestly can't say enough times how much we love it. It literally changed our entire house. Removing the wall brought so much light, and life, to the kitchen. I can now cook and prep food and not feel like I'm all alone, shut in behind the wall. We've already had more people over for dinner in 2016 than we ever did.... like, ever before. Haha!

kitchen_beforeandprogress-8.jpg
kitchen_beforeandprogress-9.jpg
kitchen_beforeandprogress-10.jpg

Adding the dishwasher was equally life changing. Dishwashers are amazing. They like.. wash your dishes while you sleep. And then you get up and BAM! they're clean. #magic

Adding the new white countertops was one of my favorite choices we made. It's so bright and allows for lots of Instagramming and food photography to happen easily. So worth it. I also love that adding the new countertops raised our existing sink. It now feels like more of a feature of our kitchen, where before it got a little lost over there in the corner. Our house has a lot of that 1929 charm, which is why we bought it in the first place, so keeping the original sink and cabinetry was always part of the plan.

kitchen_beforeandprogress-11.jpg
kitchen_beforeandprogress-12.jpg
kitchen_beforeandprogress-7.jpg

I'm really looking forward to continuing to host dinners, add a little artwork here and there and eventually decorate the new kitchen for Christmas. I'll be sure to share more "progress" photos when I do.

Feel free to comment, or contact me, with any questions you might have about our little kitchen update! And for one last whoa ... here they are side by side. 

In HOME Tags Kitchen, Before and After, House Project, House Tour
Comment

Search Posts


Featured Posts

Powered by Squarespace